 WoW Classic: TBC 20th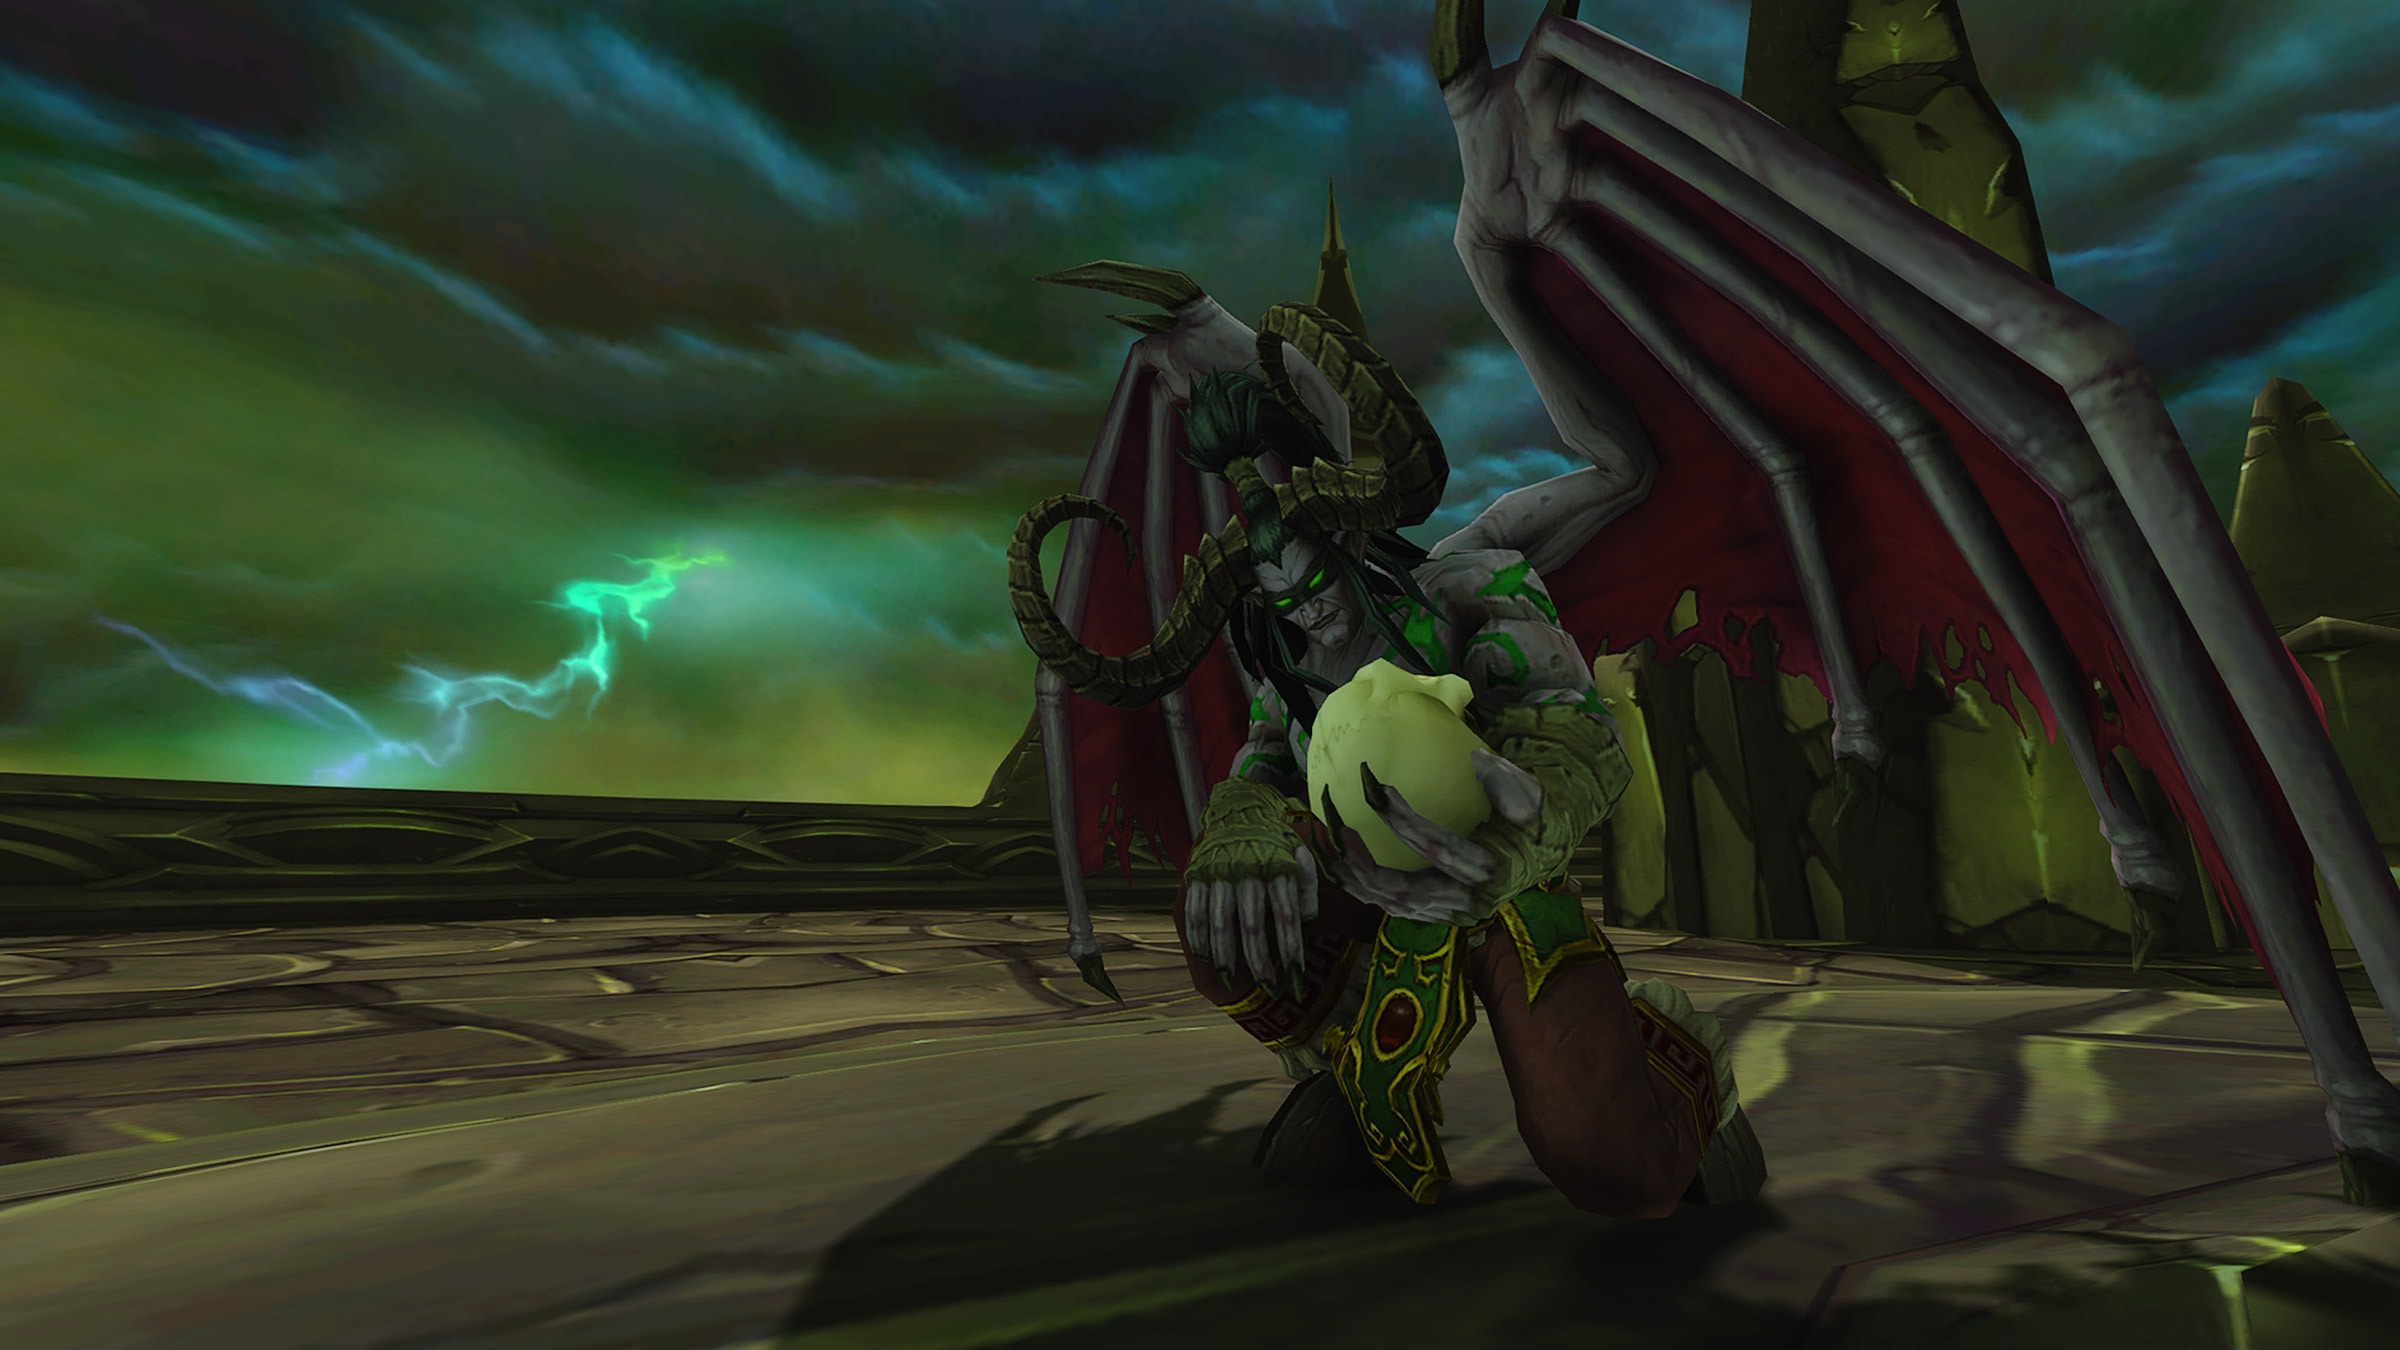
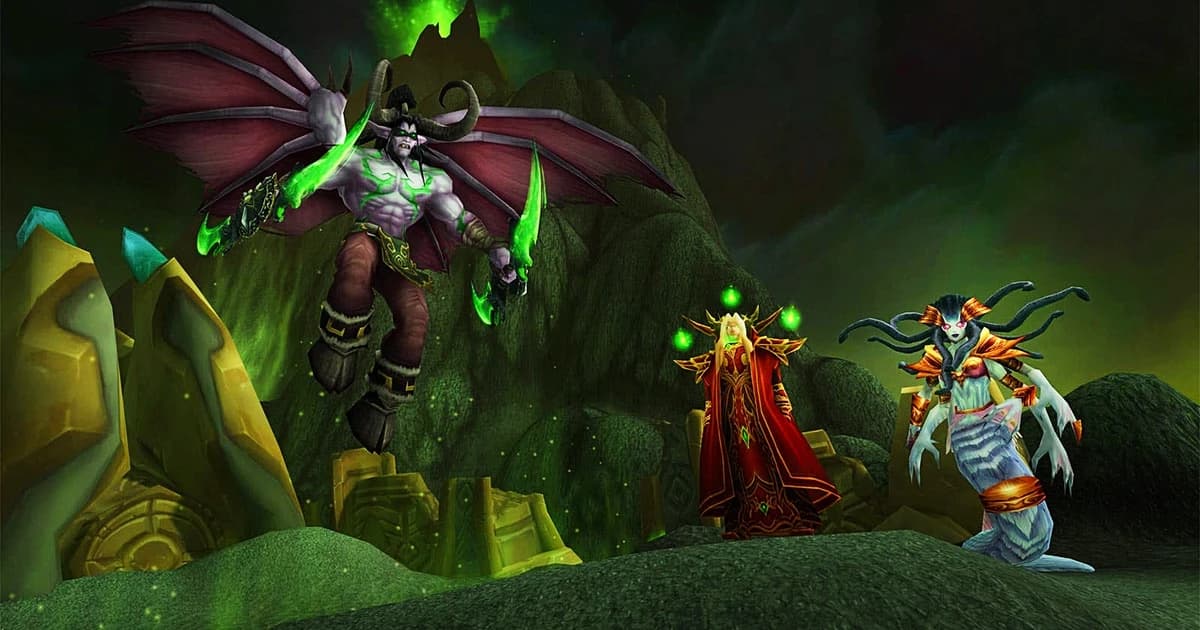
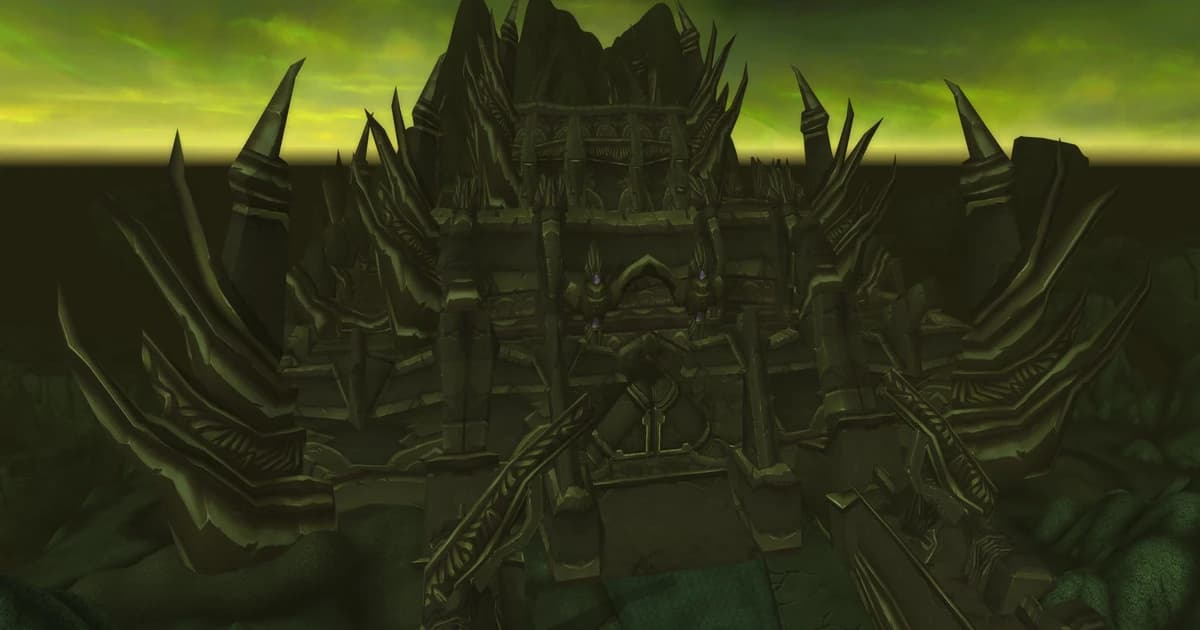
Black Temple is nine bosses of Tier 6 progression ending on Illidan Stormrage, and its loot table has a structure worth understanding before your first raid night.
Almost everything that matters is in the back half. All three tier tokens, all four trinkets, both Warglaives, and the raid's best weapons come from bosses seven, eight, and nine. The first six bosses are gearing content; the last three are why you're here.
This guide covers the full loot table by boss, plus the chase items, the trinket map, and the profession patterns most raids never think to roll on.
Item Level Structure
Tier tokens and drops from Illidan Stormrage sit a tier above the rest of the raid. Everything from High Warlord Naj'entus through the Reliquary of the Lost is on the standard Black Temple item level. Mother Shahraz, the Illidari Council, and Illidan all carry higher-value drops through their tier tokens, and Illidan's non-tier loot is the best in the instance.
Practical consequence: if you're prioritising raid nights, progression depth pays disproportionately. A guild sitting at six-of-nine is missing the entire top end of the loot table, not just three bosses' worth.
The Chase Items
Warglaive of Azzinoth (Main Hand and Off Hand) — Illidan Stormrage. The legendary set, and the reason most guilds are here. Both halves drop from Illidan and both are required for the full Twin Blades of Azzinoth.
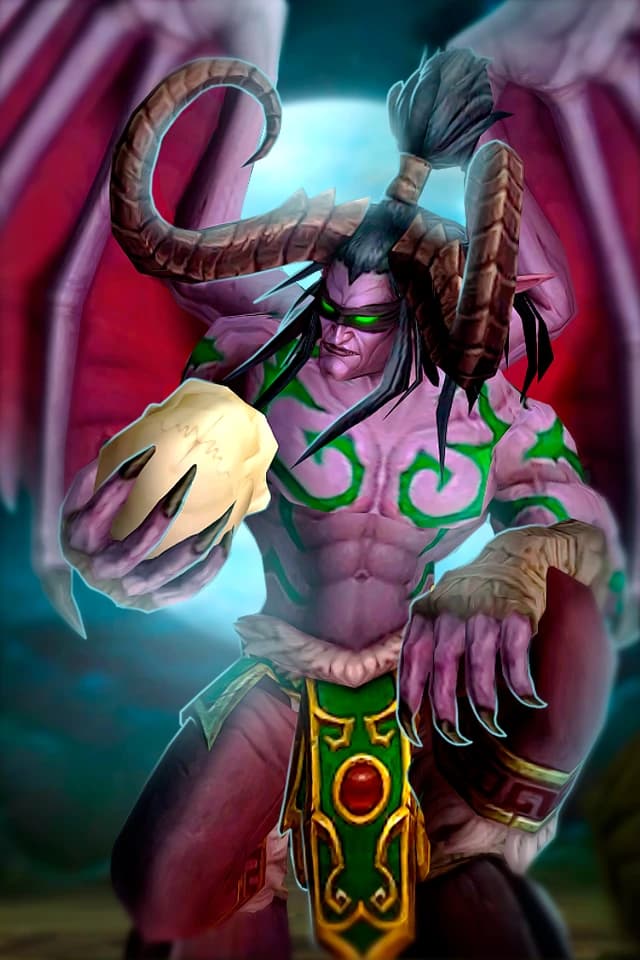
The Skull of Gul'dan — Illidan. One of the standout caster trinkets of the expansion.
Memento of Tyrande — Illidan. The second trinket from the final boss.
Madness of the Betrayer — The Illidari Council. Highly contested by physical DPS.
Bulwark of Azzinoth — Illidan. The raid's shield.
Cursed Vision of Sargeras — Illidan. Leather helm, one of the best in slot for its class group.
Zhar'doom, Greatstaff of the Devourer — Illidan. Caster two-hander.
Black Bow of the Betrayer — Illidan. Ranged weapon.
Crystal Spire of Karabor — Illidan. Healing mace.
Shard of Azzinoth — Illidan. Dagger.
The pattern is impossible to miss: Illidan drops seventeen items, including both trinkets, both Warglaives, and best-in-slot options across nearly every armour type and weapon class. No other boss in the raid comes close.
The Trinket Map
There are only four trinkets in all of Black Temple, and their placement matters for loot planning:
Trinket | Boss | Position |
|---|---|---|
Shadowmoon Insignia | Gurtogg Bloodboil | 5th |
Madness of the Betrayer | The Illidari Council | 8th |
Memento of Tyrande | Illidan Stormrage | 9th |
The Skull of Gul'dan | Illidan Stormrage | 9th |
Three of the four are in the final two encounters. If trinket upgrades are your priority, Black Temple gives you very little until you're clearing to the Illidari Council and beyond.
Gurtogg Bloodboil at boss five is your only early trinket source, which makes Shadowmoon Insignia more contested in early progression than its raw value suggests.
Tier 6 Tokens
Black Temple carries three of the five Tier 6 slots:
Token Slot | Boss | Position |
|---|---|---|
Shoulders | Mother Shahraz | 7th |
Legs | The Illidari Council | 8th |
Chest | Illidan Stormrage | 9th |
Token types:
Forgotten Conqueror — Paladin, Priest, Warlock
Forgotten Vanquisher — Druid, Mage, Rogue
Forgotten Protector — Hunter, Shaman, Warrior
Redeem with Tydormu at the entrance to Hyjal Summit — not inside Black Temple. This catches people out on their first token.
Planning note: your Tier 6 gloves and helm come from Mount Hyjal, not here. Combined with your first Black Temple token from Mother Shahraz, that's your 4-piece bonus. If your guild is progressing and you're choosing where to push, Shahraz is the gateway to your set bonus completing.
Full Loot by Boss
1. High Warlord Naj'entus
Item | Type | Slot |
Ring | Finger | |
Ring | Finger | |
Cloth Armor | Feet | |
Leather Armor | Head | |
Leather Armor | Shoulder | |
Mail Armor | Head | |
Mail Armor | Hands | |
Mail Armor | Feet | |
Plate Armor | Wrist | |
Plate Armor | Feet | |
Plate Armor | Feet | |
One-Handed Axe | One-Hand | |
Dagger | Main Hand | |
Polearm | Two-Hand |
2. Supremus
Item | Type | Slot |
Ring | Finger | |
Amulet | Neck | |
Idol | Relic | |
Cloth Armor | Waist | |
Leather Armor | Chest | |
Mail Armor | Waist | |
Mail Armor | Wrist | |
Mail Armor | Wrist | |
Plate Armor | Shoulder | |
One-Handed Axe | One-Hand | |
One-Handed Mace | One-Hand | |
Crossbow | Ranged | |
Shield | Shield |
3. Shade of Akama
Item | Type | Slot |
Ring | Finger | |
Cloth Armor | Shoulder | |
Cloth Armor | Wrist | |
Cloth Armor | Wrist | |
Leather Armor | Legs | |
Leather Armor | Waist | |
Mail Armor | Shoulder | |
Mail Armor | Hands | |
Mail Armor | Waist | |
Plate Armor | Feet | |
Plate Armor | Hands | |
Plate Armor | Legs | |
Plate Armor | Wrist | |
Off-hand Frill | Held in Off-Hand |
4. Teron Gorefiend
Item | Type | Slot |
Cloak | Back | |
Totem | Relic | |
Cloth Armor | Head | |
Cloth Armor | Chest | |
Leather Armor | Hands | |
Leather Armor | Wrist | |
Mail Armor | Feet | |
Plate Armor | Hands | |
Plate Armor | Waist | |
Two-Handed Axe | Two-Hand | |
Gun | Ranged | |
Thrown Weapon | Thrown |
5. Gurtogg Bloodboil
Item | Type | Slot |
Ring | Finger | |
Cloak | Back | |
Cloth Armor | Shoulder | |
Cloth Armor | Chest | |
Leather Armor | Waist | |
Mail Armor | Chest | |
Plate Armor | Legs | |
Plate Armor | Waist | |
Plate Armor | Waist | |
Dagger | One-Hand | |
Staff | Two-Hand | |
Wand | Ranged | |
Trinket | Trinket |
6. Reliquary of the Lost
Item | Type | Slot |
Amulet | Neck | |
Cloth Armor | Hands | |
Leather Armor | Hands | |
Mail Armor | Shoulder | |
Plate Armor | Feet | |
Plate Armor | Head | |
Wand | Ranged | |
Off-hand Frill | Held In Off-hand | |
Two-Handed Mace | Two-Hand |
7. Mother Shahraz
Item | Type | Slot |
Armor Token | - | |
Armor Token | - | |
Armor Token | - | |
Amulet | Neck | |
Libram | Relic | |
Cloth Armor | Legs | |
Leather Armor | Feet | |
One-Handed Sword | One-Hand | |
Plate Armor | Chest |
8. The Illidari Council
Item | Type | Slot |
Armor Token | - | |
Armor Token | - | |
Armor Token | - | |
Cloak | Back | |
Cloth Armor | Waist | |
Mail Armor | Head | |
Plate Armor | Head | |
Trinket | Trinket | |
Leather Armor | Shoulder |
9. Illidan Stormrage
Item | Type | Slot |
Armor Token | - | |
Armor Token | - | |
Armor Token | - | |
Dagger | One-Hand | |
One-Handed Mace | Main Hand | |
Staff | Two-Hand | |
One-Handed Sword | Main Hand | |
One-Handed Sword | Off Hand | |
Cloak | Back | |
Ring | Finger | |
Cloth Armor | Head | |
Leather Armor | Head | |
Plate Armor | Head | |
Bow | Ranged | |
Shield | Shield | |
Trinket | Trinket | |
Trinket | Trinket |
Loot tables for the Illidari Council and Reliquary of the Lost may contain additional drops beyond those listed. Verify against the in-game dungeon journal for your specific target.
The Profession Patterns Most Raids Overlook
These drop from any boss and from many trash mobs, which means they're easy to miss in a loot council focused on gear.
Item | Type |
Blacksmithing Plans | |
Blacksmithing Plans | |
Leatherworking Pattern | |
Leatherworking Pattern | |
Leatherworking Pattern | |
Leatherworking Pattern | |
Tailoring Pattern | |
Tailoring Pattern |
Why they matter more than they look: every one of these is a bracer pattern, and crafted bracers from this tier are best-in-slot or near it for a wide range of specs. A guild that hands these to its crafters early is upgrading a slot for multiple raiders at once, from a drop nobody rolled against.
If your loot rules don't cover patterns, sort that before launch night rather than arguing about it mid-raid.
Trash Loot
Nearly all Black Temple trash can drop epic bind-on-pickup gear from a shared table:
Item | Type | Slot |
Ring | Finger | |
Ring | Finger | |
Ring | Finger | |
One-Handed Mace | One-Hand | |
Plate Armor | Waist | |
Plate Armor | Hands | |
Leather Armor | Feet | |
Shield | Shield | |
Cloak | Back |
Three of the nine are rings, which is notable because Black Temple's boss table is light on finger slots outside the early bosses. If your rings are lagging, trash is a genuine source rather than an afterthought.
Trash clearing also produces Heart of Darkness, the material required for the crafted Shadow Resistance gear you'll need for Mother Shahraz. Don't skip trash on progression nights — you're farming your own resistance set while you learn the wings.
Loot Priority Guidance
Early progression, bosses 1 through 6: take upgrades broadly. This is gearing content and the item level jump from Tier 5 is real across every slot. Prioritise weapons and any slot where you're still wearing pre-raid gear.
Reaching Mother Shahraz: this is the moment your Tier 6 progression becomes real. The shoulder token combined with your two Hyjal pieces completes your 4-piece set bonus, which is a larger power gain than any single non-tier item in the raid.
Illidari Council onward: trinkets and tier legs. Madness of the Betrayer is the most contested physical DPS item in the raid outside Illidan's table.
Illidan: seventeen items, four of them exceptional. Realistically this is a farm-status boss before most raiders see their specific target drop. Plan for the long haul rather than expecting your item in week one.
A note on the Warglaives: both halves drop from the same boss, and needing two specific items from one encounter is a long project. Guilds that decide their Warglaive policy before the first kill save themselves a great deal of friction later.
Quick Reference
Tier tokens: Mother Shahraz (shoulders), Illidari Council (legs), Illidan (chest). Redeem with Tydormu at the Hyjal entrance.
Trinkets: Gurtogg Bloodboil, Illidari Council, and two from Illidan.
Legendary: both Warglaives of Azzinoth from Illidan.
Patterns: any boss, much trash. Bracer patterns across three professions.
Trash: epic BoP gear including three rings, plus Heart of Darkness for Shadow Resistance crafting.