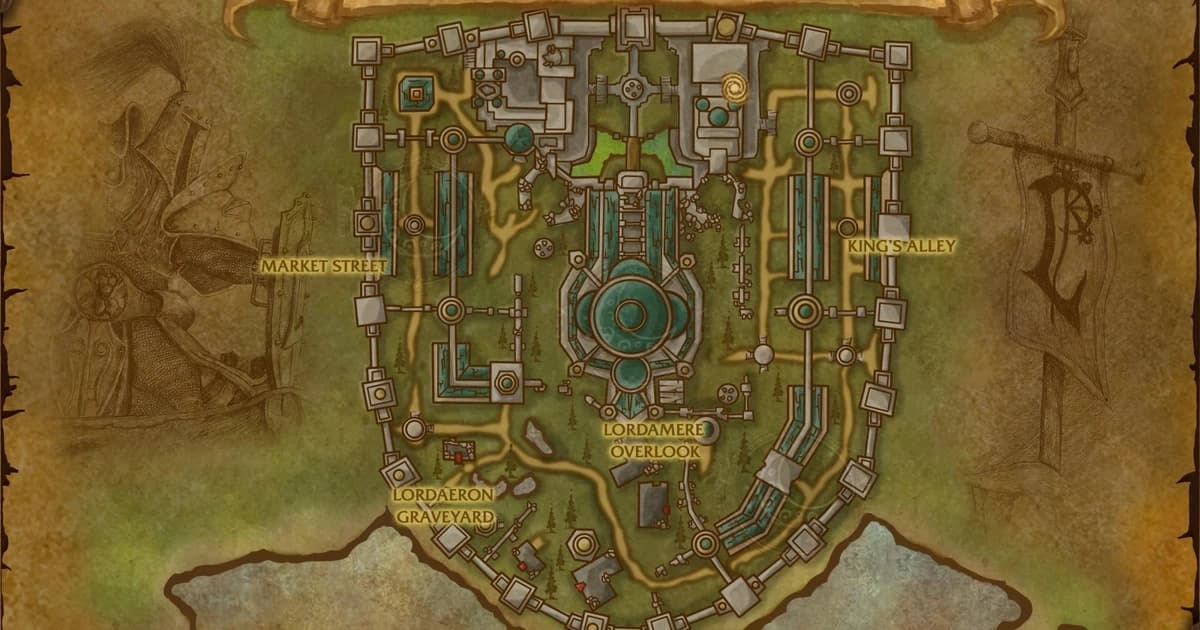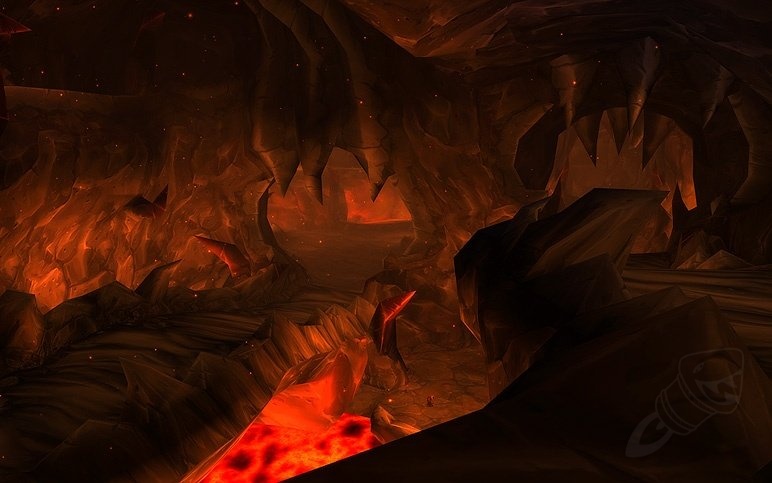
Ragefire Chasm sits in the Cleft of Shadow under Orgrimmar, and it's the easiest dungeon in the game. Four bosses, a short layout, and a level band of 13–18 that most Horde players walk into before they've learned what a threat meter is.
Two things worth knowing before you go, both of which decide how much you get out of it.
First: the quest layer is the content. The four bosses between them drop six items. The five quests attached to this dungeon reward ten. If you walk in without the quests, you're running a dungeon for roughly a third of what's actually in it.
Second: one of those quests needs substantial work done outside the dungeon before it's active inside it. Groups discover this mid-run constantly. We've put that first rather than buried in a quest table.
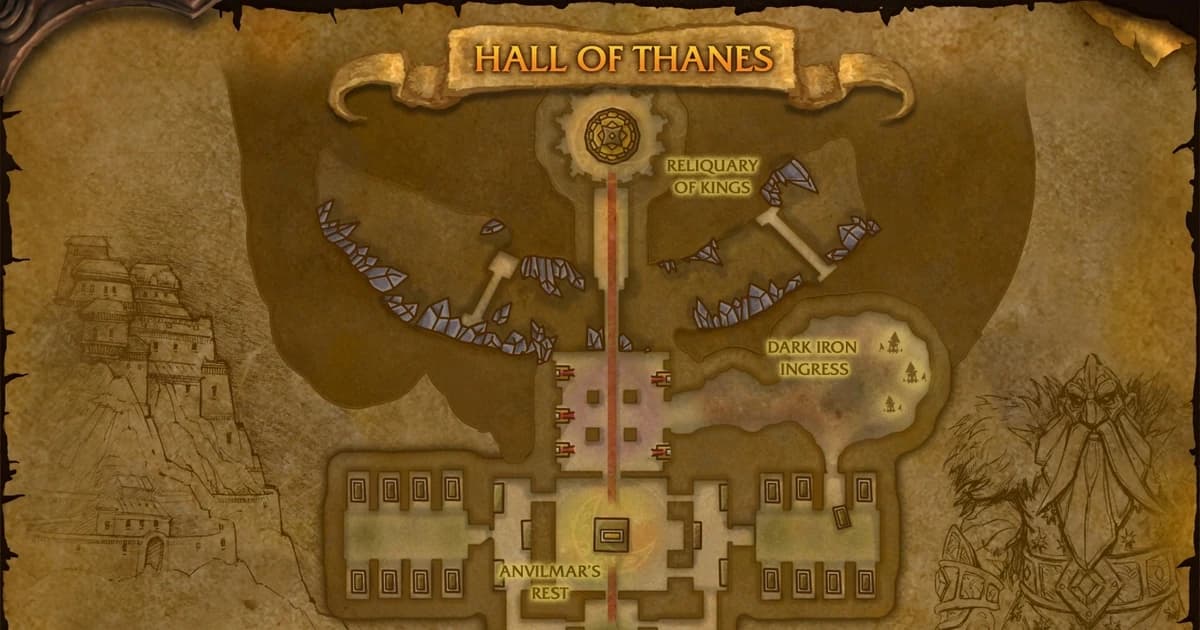
This is also the exact mirror of Hall of Thanes under Ironforge — each faction has one capital-city starter dungeon with all the quests, and one they can technically reach and get nothing out of. If you're Alliance and you landed here, skip to the last section.
Quick Reference
| |
|---|
Location | Cleft of Shadow, Orgrimmar |
Type | Instanced, short, no routing decisions |
Group size | 5 players |
Level range | 13–18 |
Bosses | 4 — Oggleflint, Taragaman the Hungerer, Bazzalan, Jergosh the Invoker |
Quests | 5, all Horde |
Loot | 6 boss drops, 10 quest rewards |
Enemy types | Ragefire Troggs, Ragefire Shamans, Searing Blade Cultists and Warlocks |
Hidden Enemies is the best quest chain attached to this dungeon — it rewards your choice of four weapons, one for essentially every class. It's also five parts long, and most of it happens outside Ragefire Chasm.
The chain, in order:
Start with Thrall in the Valley of Wisdom, Orgrimmar
Go to Skull Rock, east of Orgrimmar, and loot a Lieutenant's Insignia from the Burning Blade agents there
Speak with Neeru Fireblade in the Cleft of Shadow — and exhaust the dialogue. Click through every option; the chain doesn't advance if you stop at the first line.
Return to Thrall
Now go into Ragefire Chasm and kill Bazzalan and Jergosh the Invoker
Only step five happens in the dungeon. If you form a group and zone in without steps one through four done, you kill both bosses and get nothing for it, and the next run is another full clear.
Reward — pick one: Kris of Orgrimmar (dagger), Hammer of Orgrimmar (main-hand mace), Axe of Orgrimmar (two-handed axe), Staff of Orgrimmar (staff).
Four weapon types covering every class in the game. Do the chain.
All Five Quests, and Where to Collect Them
These become available across roughly levels 9–13, which means you can bank most of them while you're still questing in your starting zones. The dungeon itself is 13–18.
The Travel Planning Nobody Mentions
Look at that list again. It's a dungeon under Orgrimmar with quest givers in Orgrimmar, Thunder Bluff, and the Undercity. Three capitals.
If you're Tauren: Rahauro's two quests are at home on Elder Rise. Pick them up before you ever leave Mulgore, then collect Thrall and Neeru's on your way through Orgrimmar.
If you're Orc or Troll: Thrall and Neeru are at home. Rahauro's two mean a trip to Thunder Bluff — worth doing in one go, because that's three bracers and three leg pieces between the two quests.
If you're Undead: Varimathras is at home in the Royal Quarter. The other four are a continent away.
The practical version: whichever capital you're in, grab everything available there now rather than making a second trip later. These quests don't expire, and the dungeon is still going to be here at 15.
Quest Rewards
Quest | Choose From |
|---|
Hidden Enemies | Kris of Orgrimmar (dagger) · Hammer of Orgrimmar (MH mace) · Axe of Orgrimmar (2H axe) · Staff of Orgrimmar (staff) |
Searching for the Lost Satchel | Featherbead Bracers · Savannah Bracers · Garrison Cuffs |
Testing an Enemy's Strength | Ghastly Trousers · Dredgemire Leggings · Gargoyle Leggings |
Slaying the Beast | XP and gold |
The Power to Destroy... | XP and gold |
Ten items. Compare that to the six the bosses drop.
Getting In
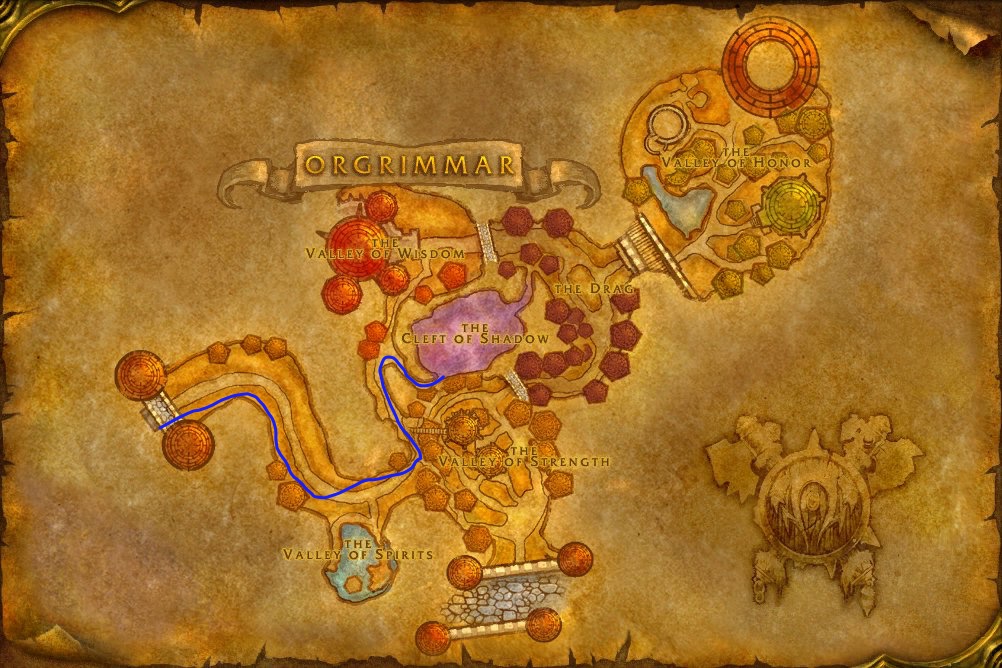
Horde
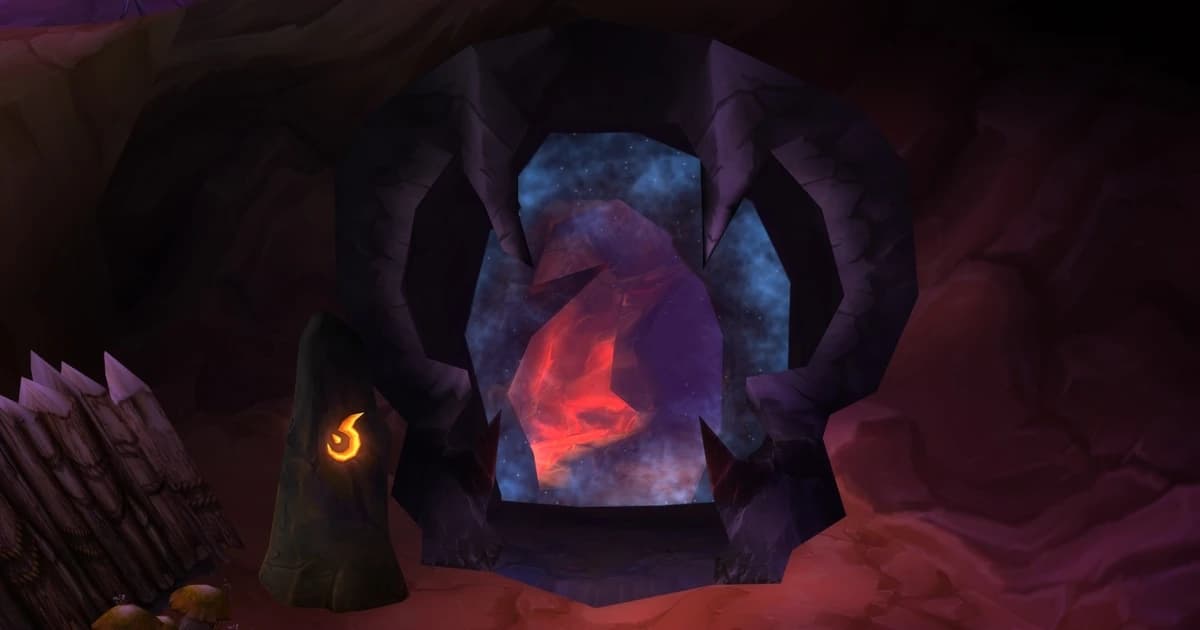
Go to the Cleft of Shadow in Orgrimmar. The portal is there. That's the whole instruction.
Alliance — The Honest Version
Boat to Ratchet, run north through the Barrens to the northeastern tip, find Orgrimmar's west entrance (the less-populated one), remove all your armour, and corpse run through the city into the Cleft of Shadow until you can zone in.
Stripping before the run is the right call — durability loss only applies to equipped gear, and you are going to die repeatedly. Re-equip once you're inside.
On a PvP ruleset, treat this as a stunt rather than a plan. You're not just dealing with city guards; you're making a slow, visible run through the Horde's capital at level 15 where every player who sees you gets a free kill.
Bosses
Where: Guarding Maur Grimtotem's cave, to the right of the first trogg room. He's a mini-boss and he's the first real pull.
Abilities: Cleave.
Strategy: He's flanked by two elite troggs, and this is the pull where new groups learn what crowd control is for.
Crowd control one add before you engage. Polymorph, Sap, Shackle, anything.
Damage the untanked add first, then Oggleflint, then break the CC and kill the last one
Tank faces Oggleflint away from the group — Cleave hits whoever's in front of him, and at level 14 a cleave into your healer is a real problem
If you're heading for Searching for the Lost Satchel, Maur Grimtotem is in the cave behind him.
Where: The centre of the "X" pathway, before the final room. He fights on a platform surrounded by lava.
Abilities: Fire Nova , Uppercut.
Strategy: The lava is the fight. Uppercut knocks players back, and the platform has edges.
The tank pulls him away from the edges before the fight settles, so Uppercut throws you across the platform instead of off it
Ranged players spread out to reduce Fire Nova damage
Beyond that it's a straight tank-and-spank
He drops Taragaman the Hungerer's Heart for Slaying the Beast. Make sure whoever has the quest loots it.
Where: Deep in the chasm, up the right-hand ramp before Jergosh.
Abilities: Sinister Strike , Deadly Poison.
Strategy: He hits hard on a single target — harder than anything else in this dungeon.
A useful trick: the add on his left can be pulled separately without aggroing Bazzalan himself. Pull it, kill it, then deal with him with one less body in the fight. Crowd control the remaining add and burn Bazzalan down fast; this isn't a fight to take slowly, because sustained Sinister Strikes on a level-15 tank add up.
He's one of the two kills for Hidden Enemies.
Where: The final room.
Abilities: Immolate, Curse of Weakness.
Strategy: He's flanked by two mobs. Crowd control one, focus the other down, then pull Jergosh.
Curse of Weakness is the problem in this fight, and specifically it's a problem for your tank and healer — reduced effectiveness on a tank who's already the only thing between Jergosh and your cloth wearers. If anyone in your group can Remove Curse — Mage or Druid — that's their job for this fight. A Priest dispel won't touch it.
A Mage is genuinely valuable here for both reasons: Polymorph for the adds and Remove Curse for the boss.
He's the second Hidden Enemies kill, and he closes the dungeon.
Trash
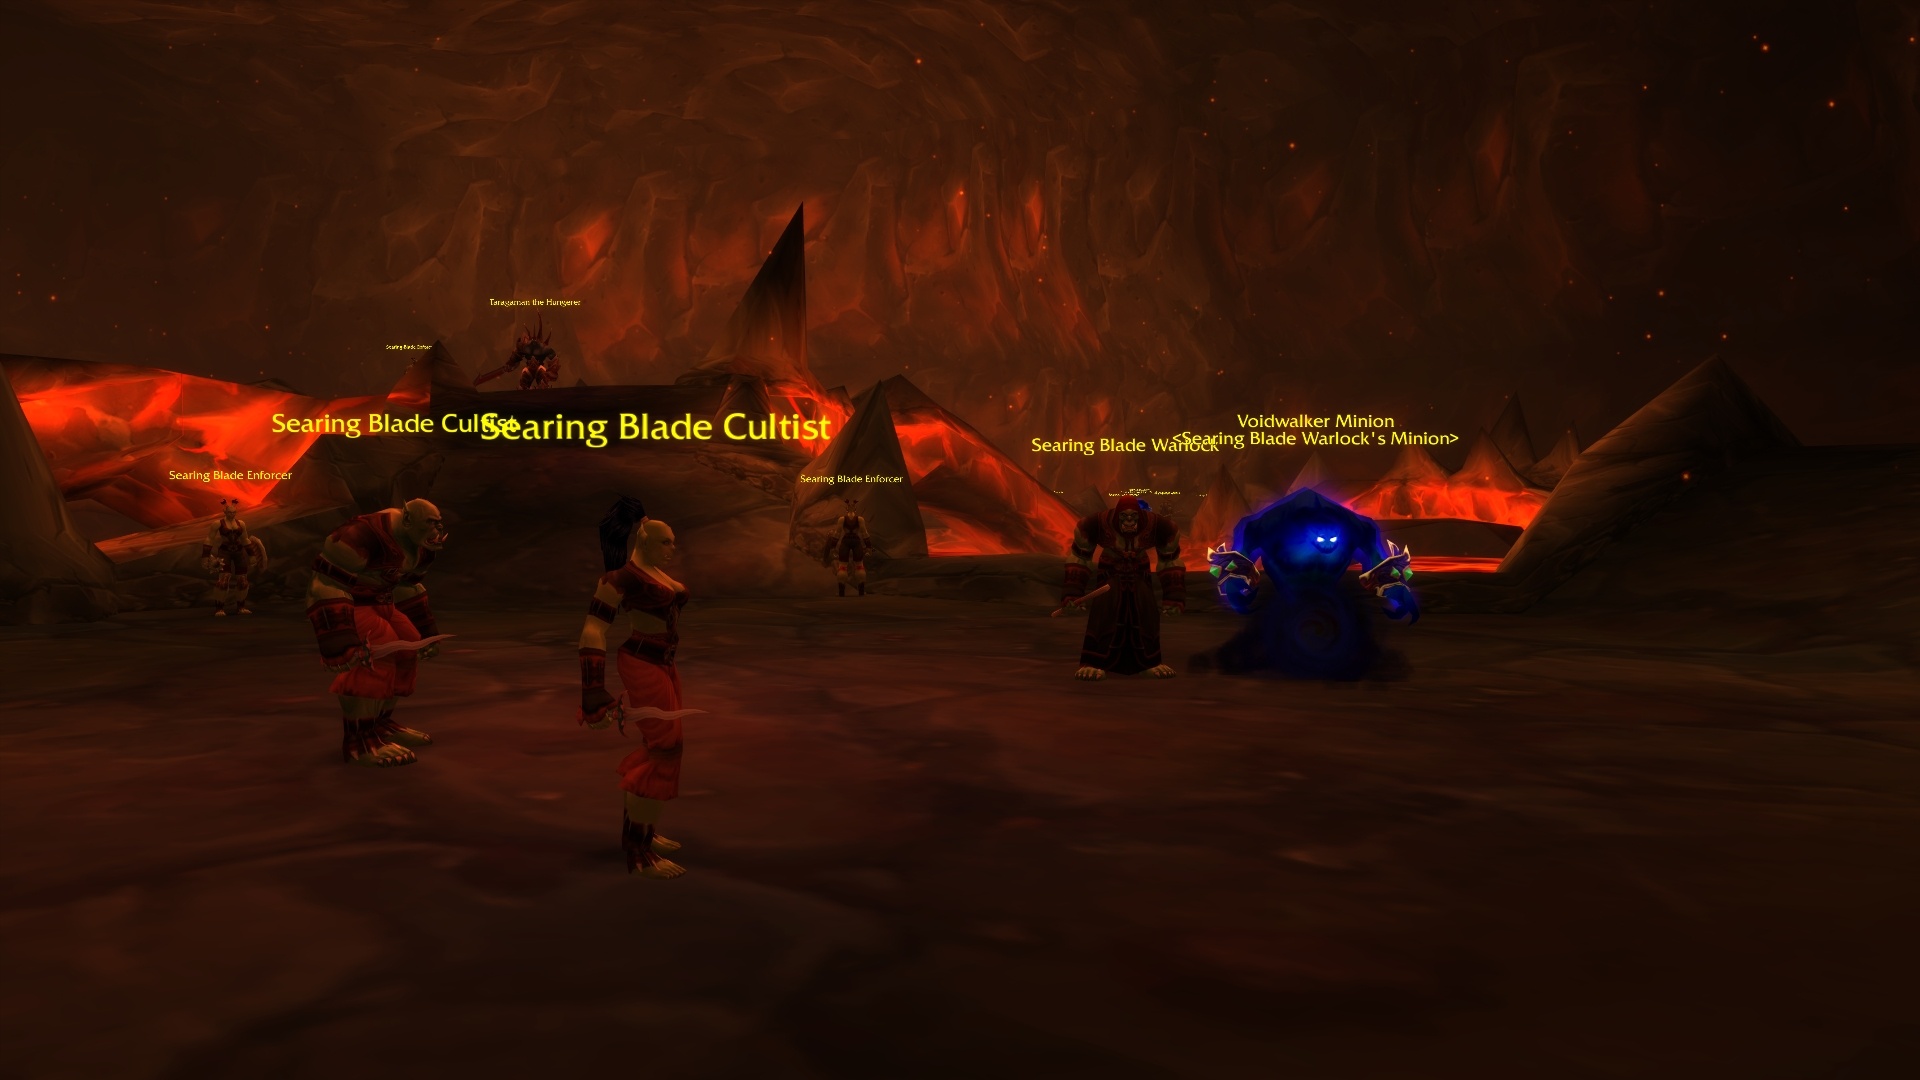
Short list, because this dungeon is short.
Trash | Where | Notes |
|---|
Ragefire Troggs | First major room and corridors | Quest objective — you need 8 |
Ragefire Shamans | Same area | Quest objective — you need 8. Interrupt their casts |
Searing Blade Cultists and Warlocks | Second half | Quest objective — they drop the Power to Destroy items |
Maur's cave guards | Behind Oggleflint | Covered above |
Notice that nearly every trash type in this dungeon is a quest objective. If you have all five quests active, you aren't clearing trash — you're completing three quests while you walk.
Boss Loot
That's the whole boss loot table — six items from two bosses. Oggleflint and Bazzalan don't have listed drops of their own.
Which is exactly why the quest layer matters so much here. The four Orgrimmar weapons alone outclass most of what the bosses hand out, and they're guaranteed rather than a roll.
Worth chasing: Cursed Felblade is a solid main-hand sword, Robe of Evocation is a real caster chest at this level, and Chanting Blade covers daggers if you didn't take the Kris.
No plate again. Cloth, mail, and weapons. Warriors and Paladins are here for the Axe or Hammer of Orgrimmar.
What Forever Changed
Most Ragefire Chasm guides are Classic guides with a new header. Here's what's actually different in Forever, because it changes how you run the place.
Dungeon XP was retuned, twice. Kill XP in dungeons was reduced during the beta, with a roughly 20% buff announced to bring dungeon levelling back in line with efficient questing. Separately, the October 1 update cut dungeon quest bonus XP by 50% — the extra on top of the normal quest value. Blizzard's stated position is that first-time dungeon quests remain the most lucrative levelling option, which is one more reason to arrive with all five in your log.
The XP trap that costs people levels: kill XP is currently calculated from the group's highest-level member. Bringing a level 40 friend to carry you through RFC doesn't just trivialise it — it reduces XP for every actual leveller in the party. A fix is planned. Until it lands, take the carry for the gear and the quest turn-ins and accept you're giving up the kill XP.
Addons can't read combat values. Enemy health, damage numbers and threat are hidden from the addon API in Forever. For a dungeon like this one that means no threat meter — the "focus the untanked add first" advice on Oggleflint is something your group coordinates out loud rather than something an addon shows you. The built-in Cooldown Manager, damage meter and swing timer are what you have, and they're on by default in the settings menu.
Classic stat knowledge is partly stale. Forever unified Hit and Crit and added Expertise. If you're picking between two of these items based on remembered Classic itemisation, re-read the tooltips rather than trusting the old priorities.
Dying, and Getting Back Up
Worth knowing at this level, because resurrection isn't evenly distributed yet:
Priests and Shamans have resurrection early
Paladins need a quest for theirs
Druids only have a combat resurrection and almost certainly won't have it at 15
Everyone else has nothing
If nobody can rez: release, run back as a ghost from the Spirit Healer, and zone in. Your body is recovered the moment you enter the instance — you don't need to find your corpse inside the dungeon. This saves a lot of confused wandering on a first wipe.
Should Alliance Bother?
No, and the maths is the same shape as Hall of Thanes in reverse.
What you get: six boss drops.
What you don't get: all five quests are Horde. That's ten quest rewards you can't access and, more importantly, all the quest XP — which is the actual reason to run a dungeon in this bracket.
And the trip costs: a boat to Ratchet, a run across the Barrens, a corpse run through Orgrimmar, and on a PvP ruleset a near-certainty of being farmed on the way in.
Go to Hall of Thanes instead. It's beneath Ironforge, it covers the same 13–18 band, all five of its quests are yours, and it's a two-minute walk from the Great Forge.
The one reason to come here anyway: you want the achievement or you've never seen the place. Fine — just go in knowing you're sightseeing, not levelling.
FAQ
What level should I be for Ragefire Chasm? 13–18. It's the easiest dungeon in the game and a competent group handles it at 13, but 14–15 is more comfortable and lines up with when most of the quests are sitting in your log anyway.
Where is the entrance? The Cleft of Shadow in Orgrimmar. The portal is right there — no hidden passage, no prerequisite.
Which quests should I do before entering? All five, but Hidden Enemies specifically requires four steps outside the dungeon before the RFC part activates: Thrall → Lieutenant's Insignia at Skull Rock → talk to Neeru Fireblade and exhaust the dialogue → back to Thrall. Do that chain first or you'll kill both target bosses for nothing.
Can Alliance run Ragefire Chasm? Technically yes, via Ratchet and a corpse run through Orgrimmar. There are no Alliance quests inside, so you get the boss loot and the kill XP and nothing else. Hall of Thanes under Ironforge is the Alliance equivalent and has all its quests for you.
Which boss is the hardest? Bazzalan does the most single-target damage, and Oggleflint causes the most wipes because he's the first pull with two elite adds and groups haven't sorted out crowd control yet. Pull the add on Bazzalan's left separately and crowd control something on Oggleflint, and neither is a problem.
What's the best loot here? The Hidden Enemies weapons — Kris, Hammer, Axe or Staff of Orgrimmar. They're guaranteed, they cover every class, and they're better than most of what drops. Of the boss drops, Cursed Felblade and Robe of Evocation.
Should I bring a Mage? If you can. Polymorph handles the add packs on Oggleflint and Jergosh, and Remove Curse clears Jergosh's Curse of Weakness off your tank. A Druid covers the decurse half.
How long does a clear take? Around 20–30 minutes with a group that knows where it's going. It's the shortest dungeon in the bracket.
Why doesn't my Priest dispel remove Curse of Weakness? It's a Curse. Only Remove Curse touches it — Mage or Druid.
The Short Version
Do the Hidden Enemies chain before you form the group — Thrall, Skull Rock, Neeru Fireblade, back to Thrall. Pick up Rahauro's two in Thunder Bluff and Varimathras's in the Undercity whenever you're passing through. Then go in at 14 or 15.
Inside: crowd control an add on Oggleflint, keep Taragaman away from the lava edges, pull Bazzalan's left-hand add separately, and have a Mage or Druid ready to decurse on Jergosh.
Ten quest rewards against six boss drops. Arrive with the quests.


 WoW Forever