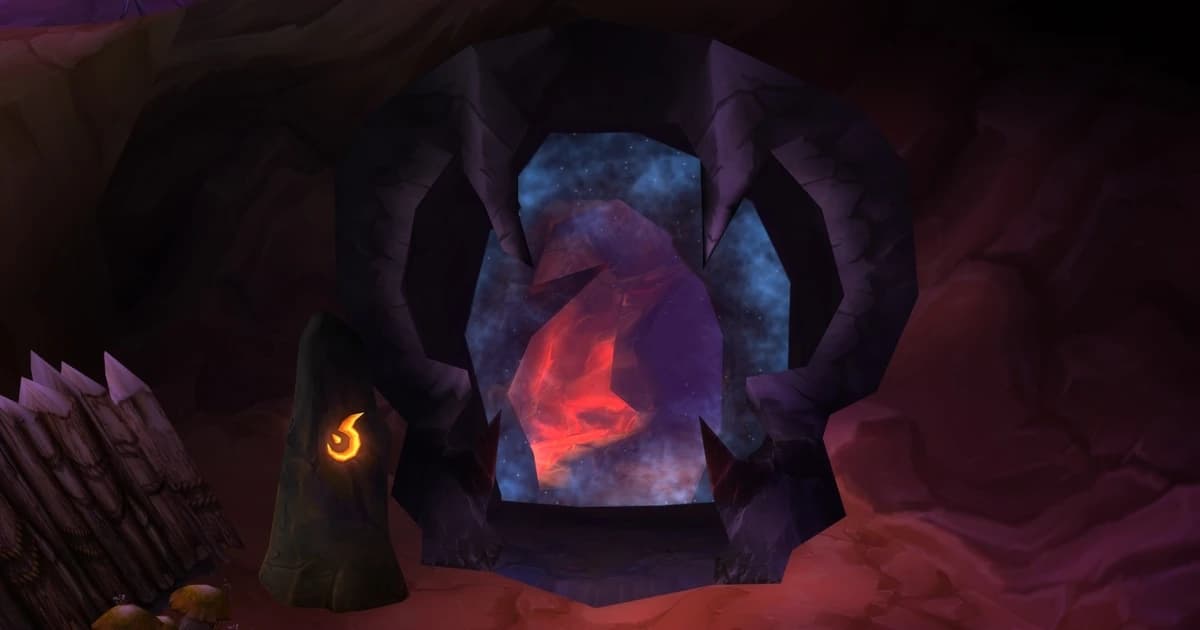
Hall of Thanes is Alliance's capital-city starter dungeon — the direct counterpart to Ragefire Chasm sitting under Orgrimmar. It's tucked beneath the High Seat of Ironforge, in the royal burial chambers of Old Ironforge, and for an Alliance player it's the single most convenient early dungeon in the game.
Here's the part most guides soften, and we won't: Horde players can enter, and there are no Horde quests inside. Not fewer quests. None. All five quests attached to this dungeon are Alliance quests.
That one fact decides whether this dungeon is worth your evening, so we'll deal with it properly rather than burying it at the bottom.
Quick Reference
| |
|---|
Location | Old Ironforge, beneath the High Seat, Dun Morogh |
Type | Instanced, linear — no routing decisions |
Group size | 5 players |
Level range | 13–18; enter at 15 |
Bosses | 4 |
Quests | 5, all Alliance |
Loot | 12 boss drops at item level 18, usable from 13, plus 9 quest rewards |
Enemy types | Undead ghosts, then Dark Iron Dwarves and stone golems |
Getting In
Alliance
Start at the Great Forge in central Ironforge
Head to The High Seat — King Magni's throne room
Inside the hall, turn left into the spiderweb-covered passage at roughly 43.5, 52.0
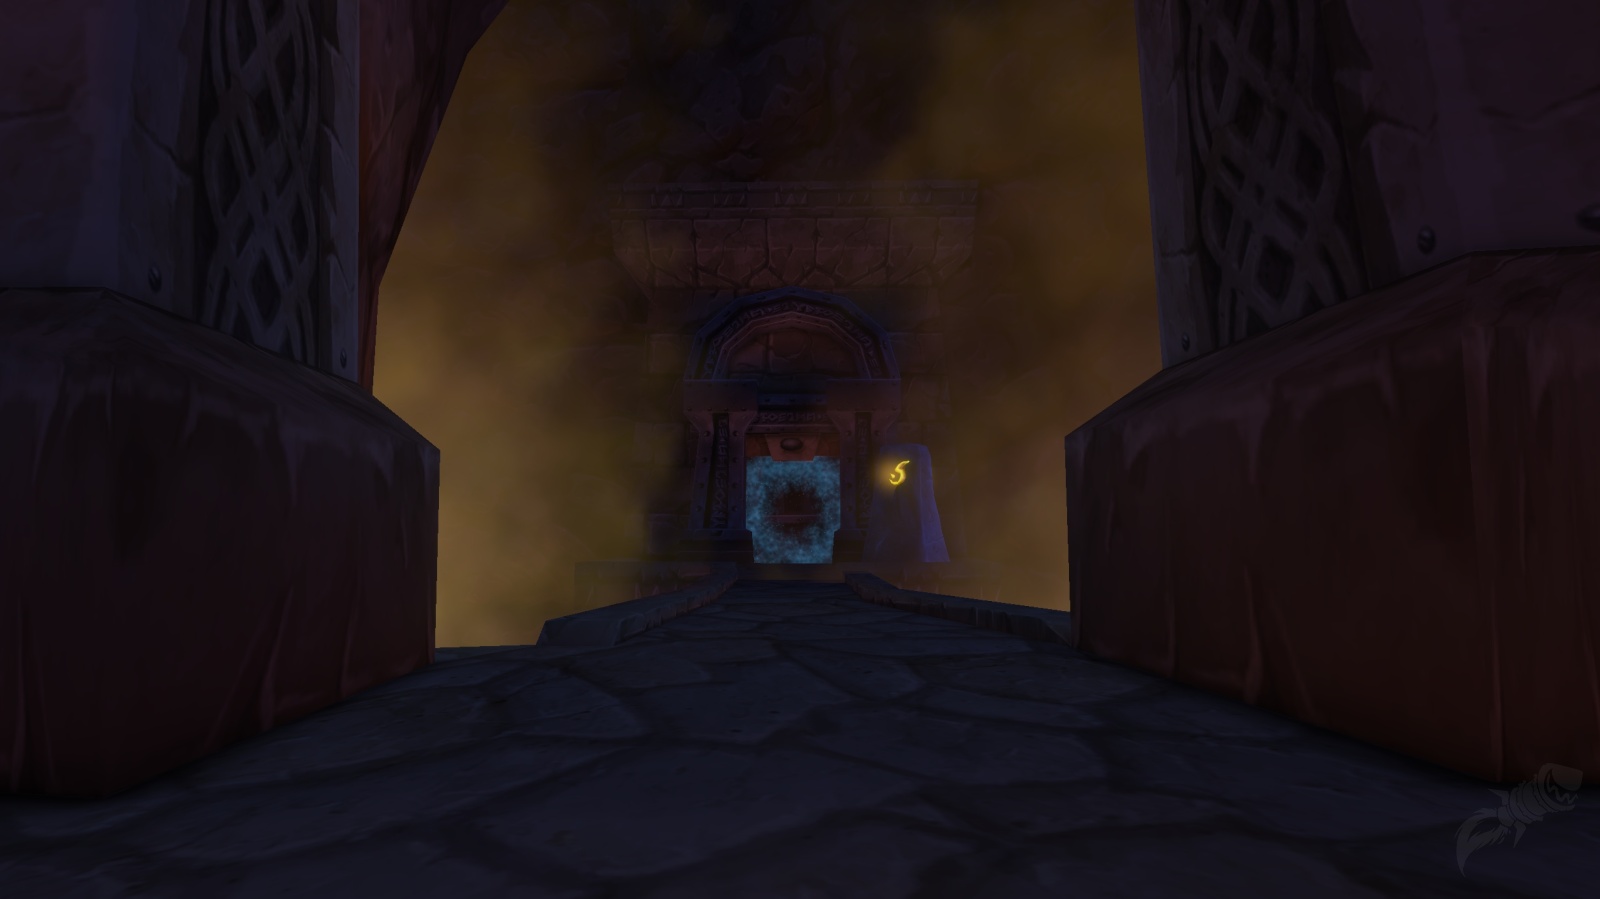
Follow the descending path down to the portal
One warning that costs people a corpse run: the descending path runs along ledges beside lava. Falling is lethal. Walk it the first time rather than strafing down while reading chat.
Total travel time from anywhere in Ironforge: about two minutes. This is the convenience dungeon.
Horde — Read the Next Section First
The route is a long cross-continent trip into Dun Morogh, then through Ironforge itself, past city guards, to the High Seat. You will almost certainly die on the way through the city.
If you're doing it anyway: unequip your gear before the run through the city. Durability loss only applies to equipped items, so stripping before a near-certain death and re-equipping at the instance portal saves you the repair bill. Travel as a full group and move together — splitting up in an enemy capital means five separate corpse runs instead of one.
But read the Horde verdict below before you commit the evening.
Featured Product
Hall of Thanes Dungeon
Use code BLOG10 for 10% off.
Quests — All Five, Alliance Only
Pick up the first two before you zone in. Thom Filch and Afadra Dunwall are both at the entrance, and there's no reason to walk back out for them.
An Ancient Grudge is picked up inside from the Ghostly Attendant in the west wing — grab it on the way in, turn it in on the way out.
The Dark Iron Map Problem
Old Ironforge Incursion is the one that trips people up, because it has a prerequisite: you need the Dark Iron Map, which drops from Dark Iron mobs out in Dun Morogh, before Earthseer Farsen will give you the quest.
Here's the honest state of it: the reported drop location is inconsistent across sources. The three locations currently named are Gol'Bolar Quarry, Ironband's Compound (around 77.8, 61.0), and a Dark Iron Spy patrolling in Dun Morogh.
The common thread is Dark Iron Dwarves in Dun Morogh, and all three locations are within a short ride of each other in the eastern half of the zone. If you want the quest, budget twenty minutes, start at Gol'Bolar Quarry, and move to Ironband's Compound if nothing drops. Don't farm one spot for an hour on the assumption that a single guide got it right.
Is it worth it? The quest rewards are Ironforge Greathammer (two-handed hammer), Calibrated Blunderbuss (gun), and Deepblaze (wand) — a real weapon upgrade at this level for three different roles. If you're levelling a Hunter or a caster, yes. If you're in a hurry, skip it and run the other four.
The Seaforium Trick
This is the best mechanic in the dungeon and it's buried in most guides as a trash footnote.
Seaforium Blasting Powder kegs sit along the route, and any ranged character can shoot them to damage the mobs standing nearby. They're not decoration and they're not a trap — they're a free opener.
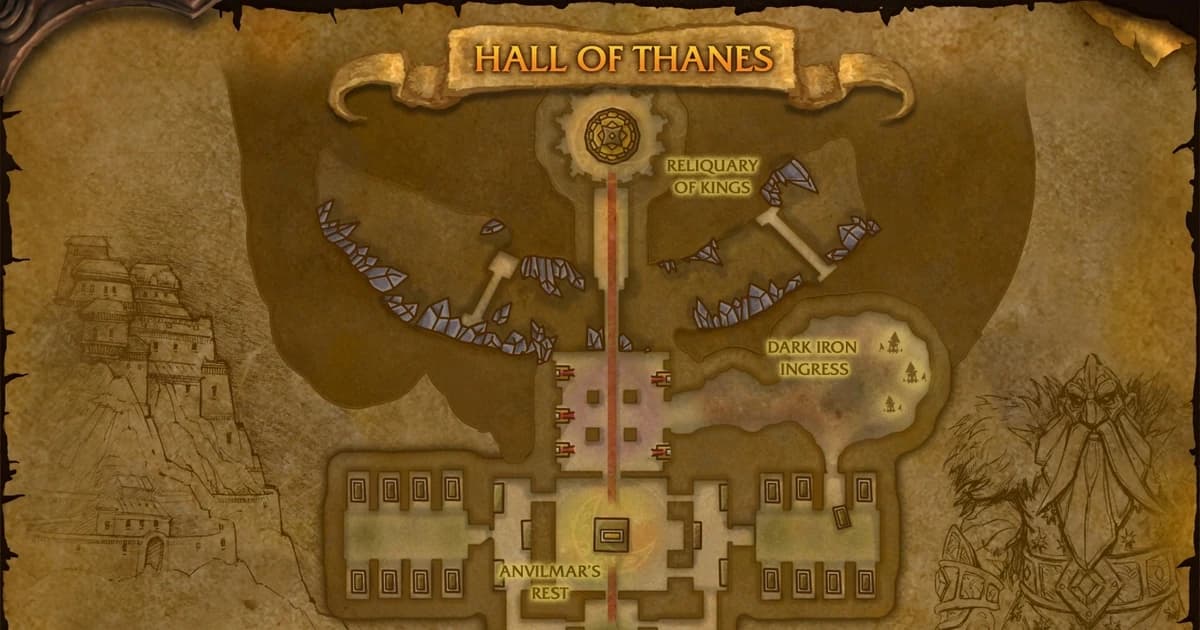
The one that matters most: in the Hall of Thanes proper, there's a pack of four Dark Iron Dwarves with two kegs beside them. That pack is one of the hardest pulls in the dungeon at level 15. Shoot both kegs at the same time before you engage and the pull becomes routine.
Coordinate it — one ranged player on each keg, fire together. A single keg softens the pack; both kegs change the fight.
Route and Bosses
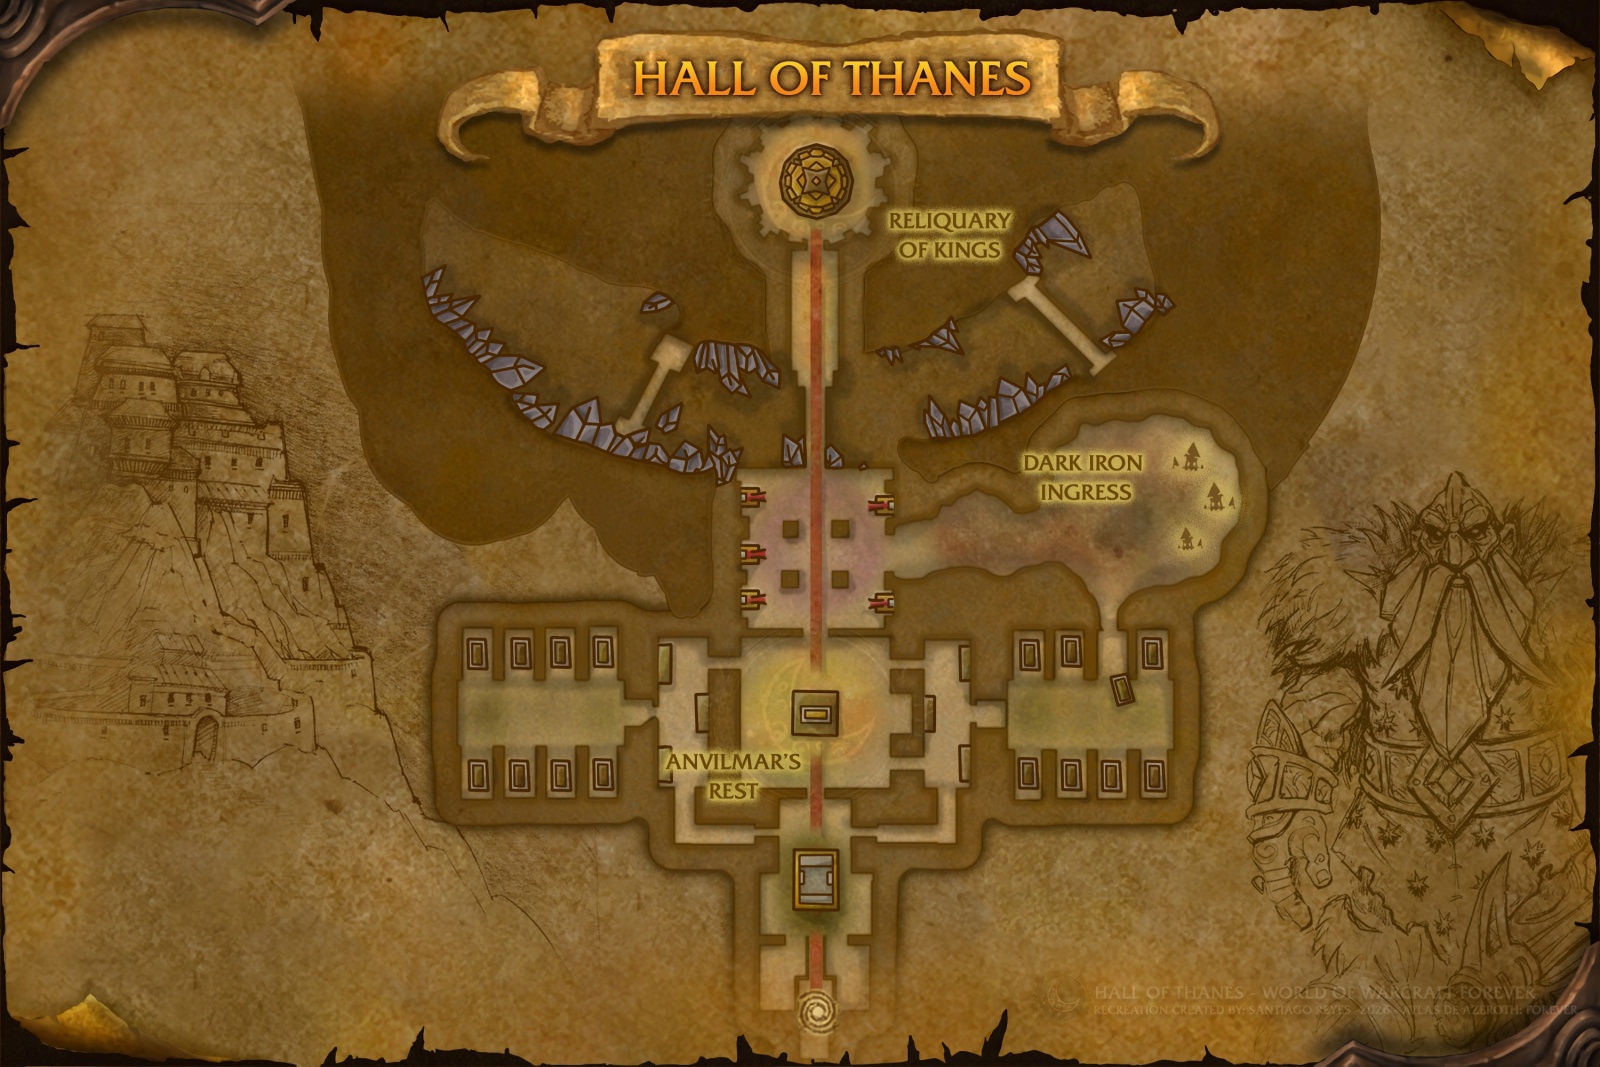
The dungeon is linear. There are no routing puzzles and no optional bosses — you go in, you kill four bosses in order, you leave.
Boss order: Faldrim Anvilmar → Magmatus → Plunder → Durgen Dirgehammer
A lever in one of the vaults opens a shortcut back to the first boss area, which is useful if you wipe late and don't want to re-walk the whole instance.
Where: Anvilmar's Rest — the large chamber with a tomb in the middle, reached through the west wing. He patrols around the tomb.
Abilities:
Mind Blast — interruptible, though not dangerous enough to require it
Anvilmar's Curse — reduces attack and casting speed by 20% and makes the target immune to Poison and Bleed. Reported durations vary, with ten minutes at the long end.
Strategy: He does not social-aggro the nearby ghosts, so you can clear the room at your own pace and then pull him clean. Do that — the room is full of Enraged Apparitions and Tormented Souls you need for The Restless Dead anyway.
The curse is the whole fight, and two details matter:
It's a Curse, not a magic debuff. That means Remove Curse — Mages and Druids. A Priest's Dispel Magic does nothing to it. If your group has no decurse, you're eating the 20% slow and the fight just takes longer.
Keep threat clean so the curse stays on the tank. The curse lands on whoever he's attacking. A tank who holds solid aggro means one player is slowed for the fight. A messy threat situation means it spreads across your damage dealers and your damage falls off a cliff.
Where: The natural cavern past the southeast corridor.
He comes with a Dark Iron Summoner. Kill the Summoner first — if you leave it up, it keeps summoning fire elementals into a fight that's already producing area damage.
Abilities: He pulses fire damage in an area around himself. Reports differ on the exact shape — some describe a periodic Fire Nova burst, others a full 360-degree Combust that hits everyone in range hard, and there's a fire damage-over-time effect in the mix as well.
What survives every version of that description, and what you should actually do:
Ranged players spread out and stay out of the pulse radius. Don't stack.
The healer watches the melee, not just the tank. This is the fight where a healer tunnelled on the tank's health bar loses two damage dealers. Everyone standing in melee is taking the same pulse the tank is.
Tank him facing away from the group and keep melee off his back side.
The approach to this cavern is the most dangerous stretch of trash in the dungeon. Use ranged pulls and line-of-sight corners, and save your crowd control — Polymorph and Sap both work on Dark Iron Engineers, which is the single most useful fact in this section of the dungeon.
Where: The hallway after the Hall of Thanes proper. He patrols, so watch his route and pull him clean.
Abilities: A large Knock Away / knock-up that throws players. There are also reports of a periodic charge that stuns a random party member, which would mean the tank needs to be ready to taunt him back afterward.
Strategy: Simple fight, one positioning rule. Tank him with your back to a wall, ideally pulled back into the tunnel you came from, so the knockback has nowhere to send you. The actual danger here isn't his damage — it's being thrown into an uncleared pack and bringing it into the fight.
Melee should also stay against the wall rather than fanning out around him.
If the charge-stun catches your tank, taunt it back the moment the stun breaks.
Where: The Reliquary of Kings, past the bridge.
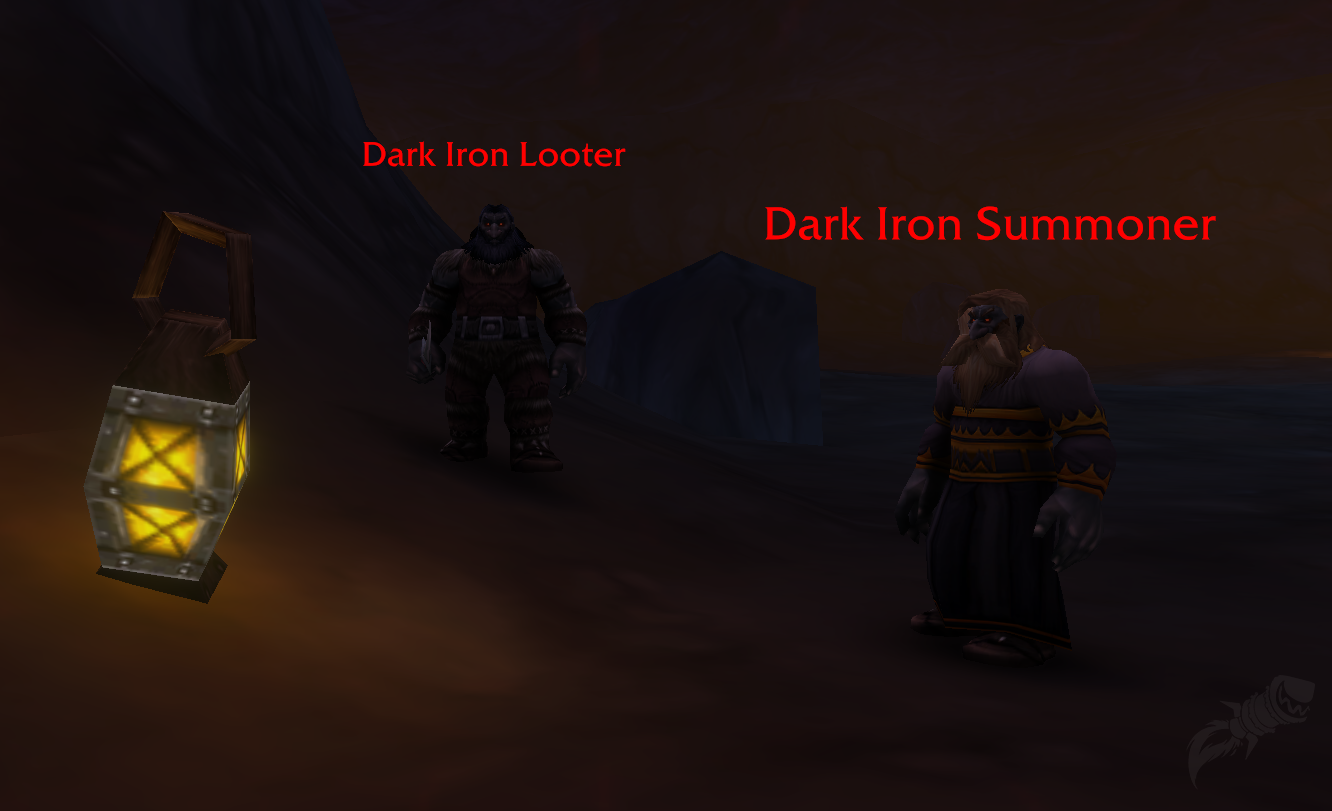
He's accompanied by two Lesser Stone Golems, and the room has Dark Iron Looters in it.
Abilities:
Strategy, in order:
Clear the entire room first. Every Dark Iron Looter, before you pull. This is non-negotiable, and the reason is the Fear: when your group gets scattered, anyone who runs into an uncleared pack brings it back with them. A clean room turns a Fear into an inconvenience. A full room turns it into a wipe.
Kill the two Lesser Stone Golems, one at a time, with stuns if you have them. They hit hard enough to kill a cloth wearer who's been feared into them.
A Shaman's Tremor Totem breaks the Fear outright. If you have a Shaman, this fight becomes substantially easier — drop the totem before the pull. If you don't, step 1 is doing all the work for you.
Rend on the tank is a steady bleed, not a spike. Your healer should expect sustained damage rather than reacting to it.
One thing we're not going to repeat as fact: there's a circulating claim that a golem killed before a wipe stays dead on your next attempt. We haven't been able to verify it and it may simply be a bug that gets patched. Don't build your attempt around it — clear the room and kill the golems properly.
Featured Product
WoW Forever Professions Boost
Use code BLOG10 for 10% off.
Trash — Where Runs Actually Die
The opening ghosts are easy. The Dark Iron packs later are not, and pulling two Dark Iron packs at once is the standard wipe in this dungeon.
Trash | The Problem | What to Do |
|---|
Tormented Souls / Enraged Apparitions | Easy, and they're quest objectives | Clear freely — you need 15 and 10 of them |
Dark Iron Looters | Nothing special, but they're the adds that join a feared group at Durgen | Clear the final room completely before pulling the boss |
Bloodhound Runts | Infected Wounds — a 5-minute disease that increases physical damage taken | Cleanse it, use Simple Poultices (First Aid), or Stoneform if you're a Dwarf. Five minutes is long enough to carry into a boss |
Dark Iron Engineers | Throw dynamite at a targeted spot | Move out of it. Polymorph and Sap both work — use them |
Dark Iron Summoners | Fireballs and summoned Fiery Assistants | Interrupt the summon cast specifically, or break line of sight |
Lesser Stone Golems | Fast and hard-hitting | Pull one at a time. Stun, then focus |
Two tools most groups forget: the Seaforium kegs on the four-dwarf pack, and First Aid poultices for Infected Wounds. Both are free, both are sitting right there, and both turn the hard half of this dungeon into the easy half.
Full Loot Table
Twelve boss drops at item level 18, usable from level 13 — which is unusually strong for this bracket and the main reason to run Hall of Thanes more than once. Plus nine quest rewards most guides leave out entirely.
Boss Drops
Quest Rewards
Quest | Choose From |
|---|
The Restless Dead | Dusty Belt · Cryptwalker Bracers |
Important Heirlooms | Dwarven Tome (off-hand) · Tomb Robber's Gloves |
An Ancient Grudge | Catacomb Cloak · Deepgrave Trousers |
Old Ironforge Incursion | Ironforge Greathammer (2H) · Calibrated Blunderbuss (gun) · Deepblaze (wand) |
What's Actually Worth Chasing
Durgen's Crescent Axe — the best physical weapon in the dungeon, off the final boss
Golemheart Stave and Fang of Magmatus — the caster picks, and a spell power staff at level 18 is a long-term hold
Calibrated Blunderbuss — the only gun on this list, and the reason a Hunter should do the Dark Iron Map prerequisite
Deepblaze — a wand at this level matters more than it sounds like it should for levelling casters
Note the armour spread: cloth, leather and mail across the four bosses. There is no plate. Warriors and Paladins are here for Durgen's axe, the Ironforge Greathammer, and the neck and cloak slots.
Don't Leave Without the Heirlooms
Important Heirlooms needs 8 Dwarven Heirlooms, and they start appearing after Faldrim Anvilmar dies. The Reliquary of Kings — the final boss room — holds enough for the entire party.
Everyone should collect all eight before leaving. People forget this constantly, finish the final boss, and hearth out one heirloom short.
Should Horde Bother? The Honest Math
No, and here's the arithmetic rather than just an opinion.
What Horde get:
What Horde don't get:
Any quests. All five are Alliance.
Which means no quest rewards — nine items you can't access
And no quest XP, which is the actual reason anyone runs a dungeon at this level
And the XP side makes it worse. Dungeon kill XP was reduced in the Forever beta with a roughly 20% buff planned to bring it back in line, and dungeon quest bonus XP was separately cut by 50% in the October 1 update. Blizzard's stated position is that first-time dungeon quests remain the most lucrative levelling option — which is precisely the part Horde are locked out of here.
So a Horde group is making a cross-continent trip, dying in an enemy capital, running a dungeon for kill XP that was recently nerfed, and getting one of three loot drops per boss. The trip costs more than the dungeon pays.
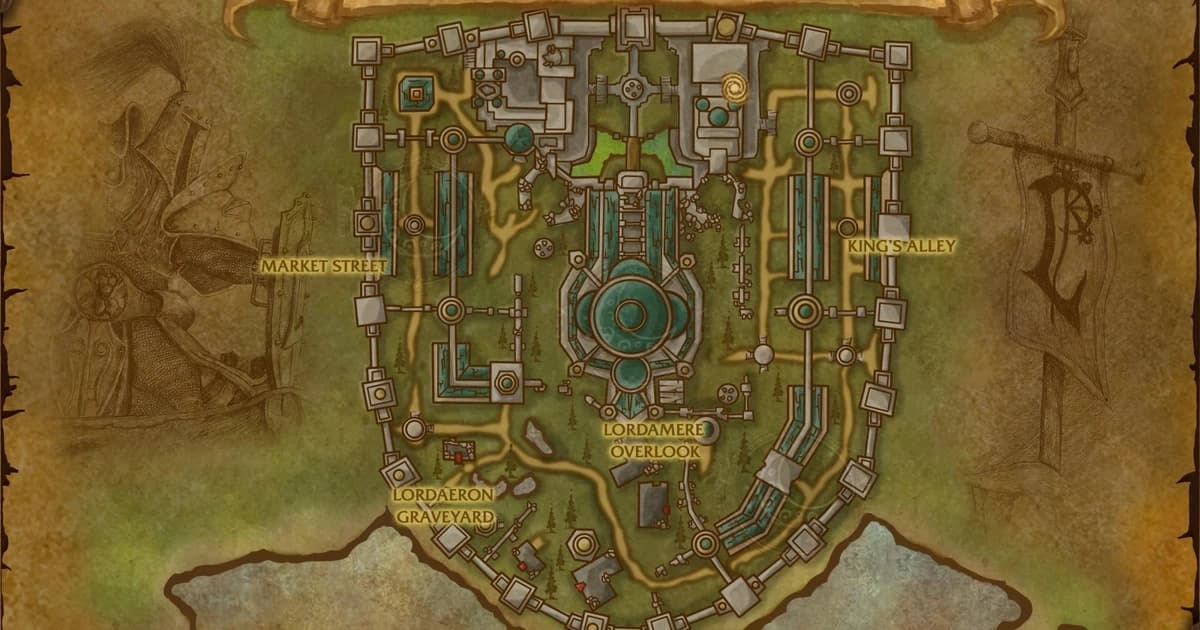
Where Horde should go instead at this level: Ragefire Chasm sits under Orgrimmar with your own quests attached, and Ruins of Lordaeron in Tirisfal covers the 15–22 band with six Horde quests and a Horde-only rare. Both are the right side of the same trade Alliance face in reverse.
The one exception: if you're doing it for the achievement, the exploration, or because a friend is dragging you, go — just go in knowing you're there for the sightseeing.
One More Thing About XP
A note that applies to every dungeon in Forever right now and costs people levels quietly:
Kill XP is currently calculated from the group's highest-level member. One level 40 friend "helping you out" reduces the XP for all four actual levellers in the party. A fix is planned. Until it lands, bring a carry for the gear and the quest turn-ins if you want — but understand you're trading away the kill XP to get it.
FAQ
What level should I be for Hall of Thanes? The range is 13–18. Enter at 15. Thirteen is technically possible and miserable — the Dark Iron packs in the second half scale badly against an underlevelled group.
Where is the entrance? Ironforge. Go to the Great Forge, then to The High Seat where King Magni is. Inside the hall, turn left into the spiderweb-covered passage at roughly 43.5, 52.0, and follow the path down. Mind the ledges — the drop beside the lava is lethal.
Can Horde do Hall of Thanes? Yes, but there are no Horde quests inside. You can reach it and kill the bosses, so you get the loot and the kill XP and nothing else. The trip through Ironforge means dying to city guards. For a Horde leveller, Ragefire Chasm or Ruins of Lordaeron are better uses of the same hours.
Which boss is the hardest? Durgen Dirgehammer, and only because of the Fear. If you clear the entire Reliquary of Kings before pulling him, he drops to about the same difficulty as the rest. A Shaman's Tremor Totem removes the problem outright.
How long does a clear take? A competent group at level 15 clears it in roughly 30–45 minutes, longer the first time while you're learning the layout and collecting heirlooms. It's linear, so there's no time lost to navigation.
What are the Seaforium kegs for? Ranged players can shoot them to damage nearby mobs. The important ones sit beside the four-dwarf Dark Iron pack in the Hall of Thanes proper — shoot both at once and the hardest trash pull in the dungeon becomes manageable.
Where does the Dark Iron Map drop? From Dark Iron mobs in Dun Morogh, and the exact spot is reported inconsistently — Gol'Bolar Quarry, Ironband's Compound (around 77.8, 61.0), and a roaming Dark Iron Spy are all named. Start at Gol'Bolar Quarry and move on if nothing drops. You need it before Earthseer Farsen will offer Old Ironforge Incursion.
What's the best item in the dungeon? Durgen's Crescent Axe for physical damage, Golemheart Stave for casters. If you did the Dark Iron Map prerequisite, the Calibrated Blunderbuss is the best gun you'll see for a while.
Why doesn't my Priest's dispel remove Anvilmar's Curse? Because it's a Curse. You need Remove Curse — a Mage or a Druid. No other dispel touches it.
The Short Version
Alliance: this is your Ragefire Chasm and it's two minutes from the Great Forge. Grab Thom Filch and Afadra Dunwall's quests at the entrance, decide whether the Dark Iron Map is worth twenty minutes in Dun Morogh, and go in at 15.
Inside: clear the room before pulling Faldrim, keep the curse on the tank, kill the Summoner before Magmatus, shoot both Seaforium kegs on the four-dwarf pack, tank Plunder against a wall, and clear the Reliquary of Kings completely before touching Durgen. Collect all eight heirlooms before you leave.
Horde: it's a long way to go for kill XP and one loot table. Your time is better spent elsewhere.
Featured Product
WoW Forever Gold
Use code BLOG10 for 10% off.


 WoW Forever