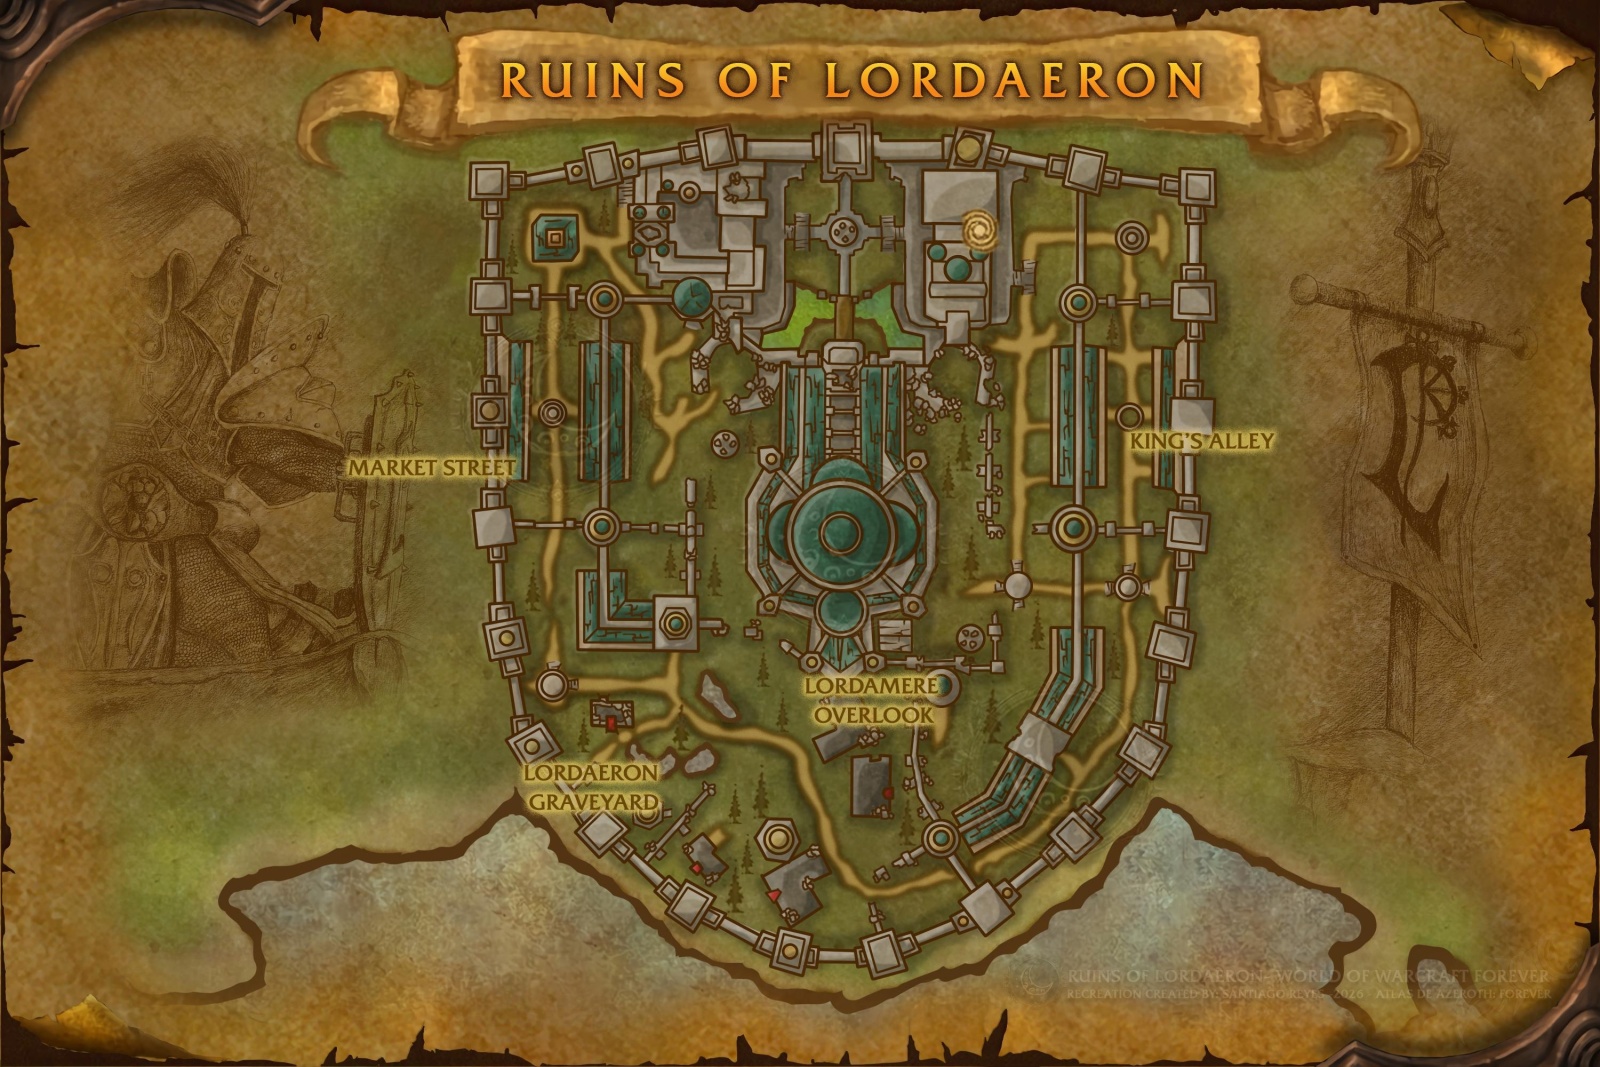
Start with the thing that changes how you run this place: Ruins of Lordaeron is not an instance.
It sits in the open world, in the ruined city above the Undercity in Tirisfal Glades. There's no portal that drops you into a private copy. You walk in, and so does everyone else.
Three consequences, all of them practical:
Other groups share your space. Bosses and the quest objectives are contested. If a group is mid-way through the Market Square event when you arrive, you wait.
On a PvP ruleset, you can be attacked at any point. Mid-boss, mid-wave event, while your healer is drinking. There is no safe instance wall.
There's no reset. You can't wipe, run back, and find trash conveniently respawned in a clean layout. What you cleared stays cleared, and what you aggroed is still looking for you.
It's also non-linear, with six bosses and no forced order. Most guides hand you a fixed one-through-six route. That's the wrong shape for this dungeon, because two of those six bosses are optional and skippable — and they happen to be the two hardest. More on that below.
Quick Reference
| |
|---|
Location | Ruins of Lordaeron, above the Undercity, Tirisfal Glades |
Type | Open world, non-instanced, non-linear |
Group size | 5 players |
Level range | 15–22; aim for 17+ before you walk in |
Bosses | 6 (two optional) + 1 Horde-only rare |
Quests | 6 Horde / 4 Alliance, all level 16 |
Enemy type | Undead — spiders, banshees, ghouls, flesh constructs |
The XP Question — What Changed in October
If you're running this dungeon to level, the numbers moved recently and most guides still have the old ones. Three things worth knowing before you form a group:
Dungeon quest bonus XP was cut by 50%. The October 1 beta update halved the extra XP dungeon quests give beyond their normal quest value. The quests are still worth doing — Blizzard's stated position is that first-time dungeon quests should remain the most lucrative levelling option available — but the gap between "dungeon with quests" and "regular questing" narrowed.
Kill XP was lowered, then a buff was announced. Dungeon mob kill XP came down in the beta, and a roughly 20% increase to dungeon kill XP is planned to bring dungeon levelling back in line with optimal questing. Check which side of that patch you're on.
And the one that actually costs you levels: kill XP was being calculated from the group's highest-level member, which drops XP for everyone below them. A fix is planned, but while it's live, the practical rule is blunt — do not bring a high-level friend to carry you through Ruins of Lordaeron. A level 40 in your party doesn't just make the dungeon trivial, it guts the XP for all four of your actual levellers. If you want the carry, take it for the gear and the quest turn-ins, and understand you're giving up the kill XP to get it.
Bottom line for levellers: pick up every quest you can before you walk in, kill things at a reasonable pace, and keep your group inside the level band. The quest turn-ins are the reason to run this, not the trash.
Getting There
Horde — Easy
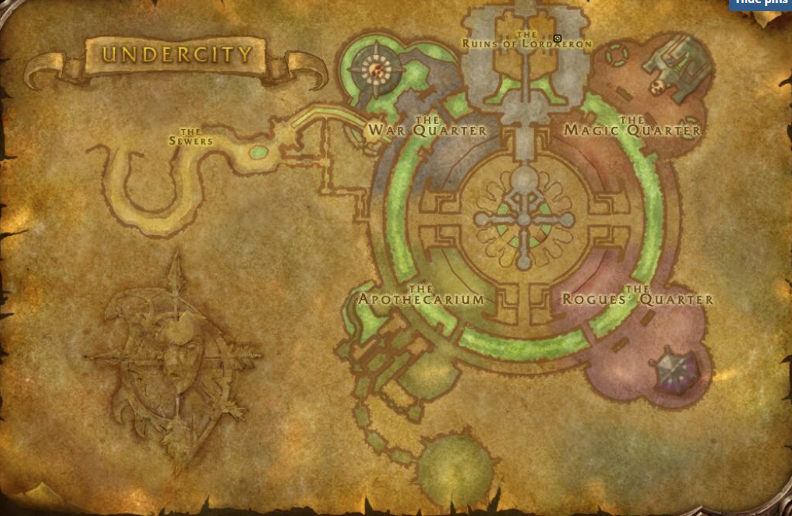
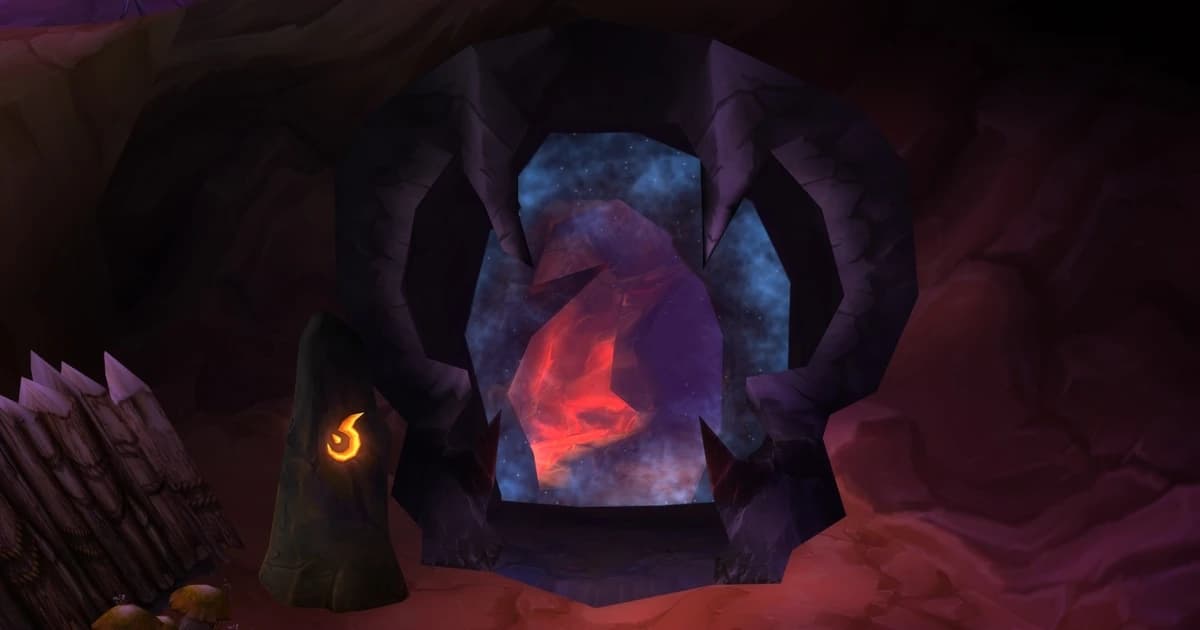
You're next door. Take the zeppelin from Orgrimmar to Tirisfal Glades if you're Orc or Troll; Tauren and Skyborne route through the Mulgore zeppelins first. From Brill, head toward the Undercity and into the outdoor ruins. The entrance is on your left near the approach.
Total trip from a Horde capital: a few minutes.
Alliance — Be Honest With Yourself First
The standard Alliance route is Stormwind Harbor → boat to Auberdine → boat to Menethil Harbor → stay on the boat through to Southshore → overland into Tirisfal Glades. At level 17. Through Hillsbrad. With no mount.
That's a substantial trip, and on a PvP ruleset it's a trip through contested territory at a level where any passing player can end it. Bring the whole party and travel together.
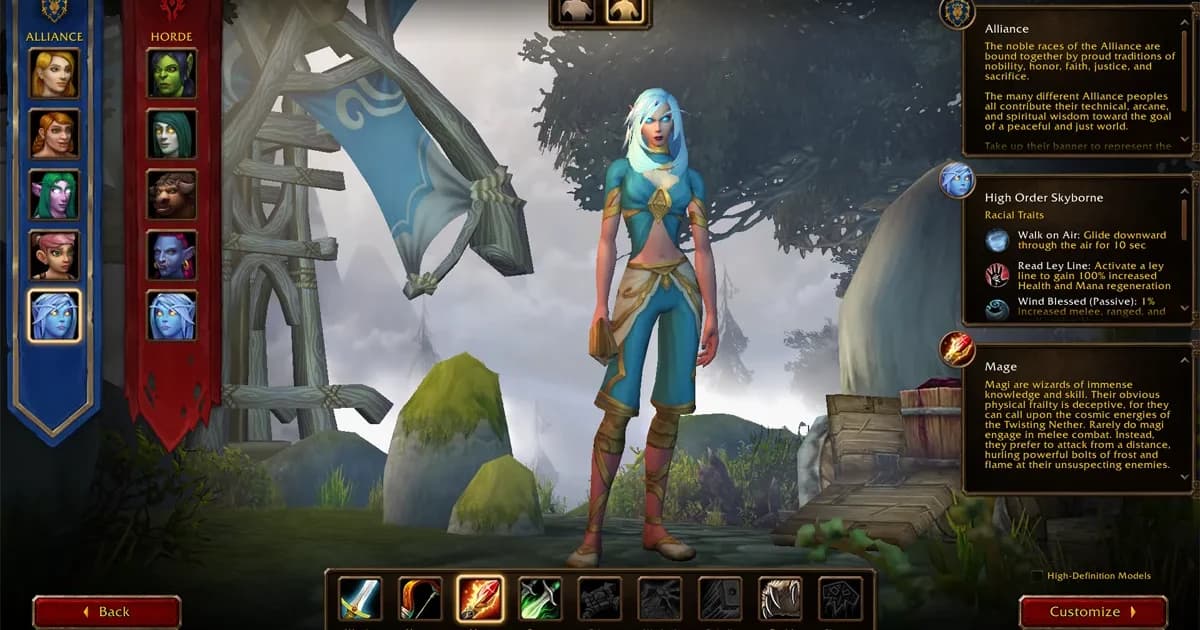
One exception worth knowing: Skyborne Alliance have a Stormwind-to-Dalaran portal, which is a genuinely much faster route rather than a marginal shortcut. If you have a Skyborne in the group, they arrive long before everyone else — which is fine for scouting, less fine for travelling as a defensive unit on a PvP ruleset.
Quests — Grab Them Before You Go
Ten quests total, all level 16, split unevenly between factions.
Horde — 6 Quests
Horde players: collect the Undercity, Tirisfal, and Silverpine quests before you form the group. Three of your six come from outside the dungeon, and walking back out for them after the fact is wasted time — especially with the quest XP being the main reason you're here.
Alliance — 4 Quests
Every Alliance quest is inside the dungeon. There's nothing to pre-collect, which sounds convenient and isn't — it means Alliance players get two fewer quests and therefore meaningfully less XP out of the same clear, after a much longer trip to reach it.
Quest Rewards Worth Noting
Finding the Crest of Lordaeron
This is the one quest both factions share, and it's the one people spend twenty minutes failing to find. It spawns in one of three places:
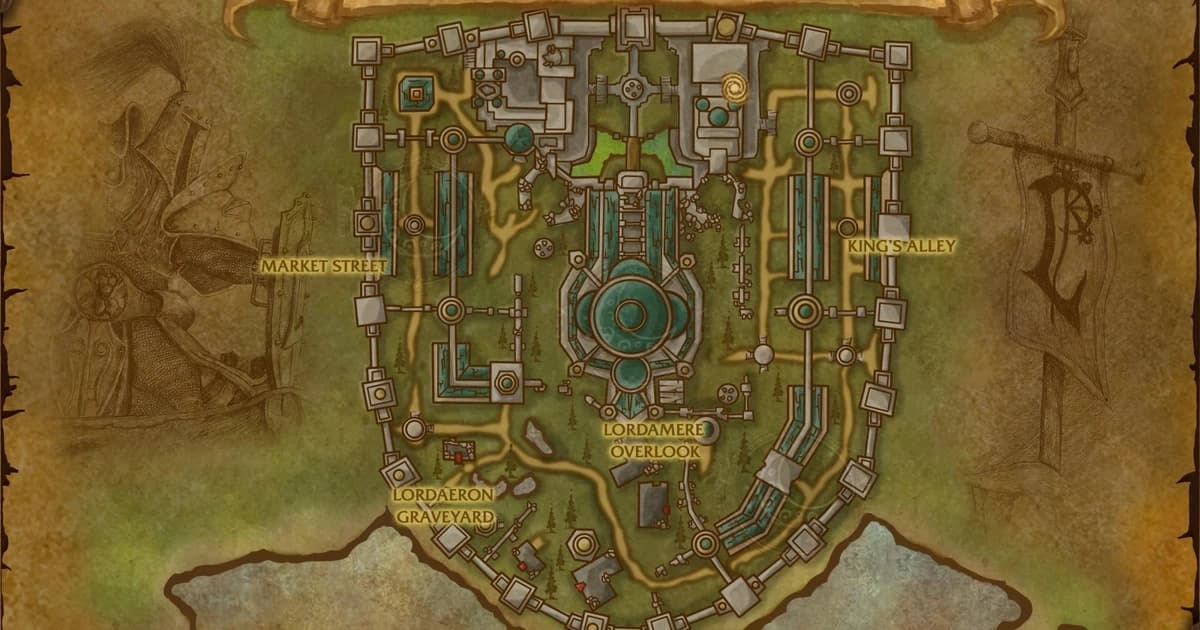
Behind a door near The Baron's area
In a room along Bjork's patrol path
At the ends of the rooftop paths — the ones where the gargoyles sit
Check all three. Because the zone isn't instanced, another group may have taken the spawn you were heading for, so having the full list saves you a lap.
Route — And What You Can Actually Skip
Here's the honest version of the route, with the thing other guides leave out.
The four core bosses, in a sensible order:
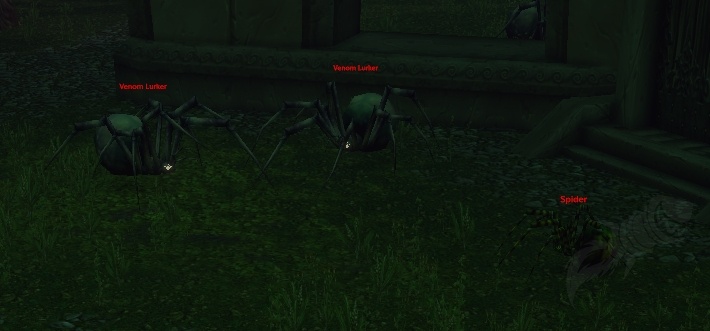
Witherfang — patrols Kings Alley
The Baron — drops the Unending Torment quest for Horde
Bjork — centre area
Rath'mael — final boss, central graveyard
The two optional bosses:
Plus, for Horde only:
Both optional bosses are wave events you have to deliberately trigger, and both are harder than anything in the core four. If your group is struggling — undergeared, no crowd control, a healer who's learning — clear the four core bosses, do your quests, and leave. You lose two loot tables and keep your evening.
If your group is solid, do everything. The wave events are the best content in the dungeon and the loot is the best in it too.
Bosses
Patrols Kings Alley with two spiders in tow.
Abilities: Leech Poison on the tank, applied periodically.
Strategy: Pull the pack and go straight for Witherfang, not the spiders. The spiders are trivial; the only real threat in this fight is Leech Poison stacking on your tank, and every second you spend on adds is another second the poison is running. Kill the boss, clean up the spiders afterward, and cleanse the poison if anyone in your group can.
The other patrols in Kings Alley are the actual danger here — see the trash section.
Abilities: Heavy melee, and Knockout — which removes close to half the tank's health and applies a stun.
Strategy: Clear the hallway before you engage, because a mid-fight add is how this one goes wrong. Melee behind him.
The critical detail is Knockout, and it's commonly described as a DPS problem — stop attacking so you don't pull aggro off a stunned tank. That's backwards. Knockout is a healer problem. Your tank is about to lose half their health and be unable to act. The correct response is to keep the tank topped off going into it and to have a heal ready the instant it lands. If anyone in your group has a stun, use it on the cast — Knockout is interruptible that way and prevention beats recovery.
He drops the Abominable Head for the Horde quest chain and the Unending Torment quest itself.
Trigger: Click the chimney southwest of Lordamere Overlook. Nothing happens until you do, which is why groups walk past this boss entirely without realising it exists.
Format: Five waves of undead, then Viktor himself on wave six. There's very little recovery time between waves.
Abilities: Heavy melee and Leech Poison.
Strategy: The waves are harder than the boss. This fight is a healer mana test and a crowd control test, not a damage test:
Bring crowd control and use it from wave one, not from the wave you start panicking on
Your healer should be drinking in every gap, however short
Save damage cooldowns for waves four and five, where the composition gets nastier
Viktor himself, after six waves, is comparatively simple — just mind the poison
If your group has no crowd control at all, skip this one. Five back-to-back waves with no CC at level 17 is how groups spend an hour on one encounter.
The Abandoned — Optional, and the Hardest Fight Here
Trigger: The statue in Market Square — you'll see it quake. Three waves of adds, then The Abandoned on wave four.
Abilities:
Frost Nova — roots the group in place
Life Drain — heals the boss, cast on the tank
Frost Armor — slows physical attackers who hit him
Strategy: Life Drain is the fight. If it goes off uninterrupted, the boss heals back what you've done and you're doing the fight twice. Stun it at the start of the cast. Assign that to a specific person before you pull — "someone interrupt it" means nobody does.
Frost Nova means your melee will be rooted at bad moments; your ranged should keep attacking through it rather than waiting. Frost Armor slows your physical damage dealers, so expect this fight to take longer than the damage numbers suggest and don't let your healer burn mana on a panicked pace.
Three waves first, so the same mana discipline from Viktor applies.
Abilities: A 3-second Anti-Magic Shield. That's the whole list.
Strategy: The simplest boss in the dungeon. Clear the corridor, face him away from the group, and hold your caster damage for three seconds when the shield goes up rather than wasting a cast into it.
The only way this fight goes badly is pulling him together with the ghoul packs on his patrol route. Watch where he's walking and pull him clean.
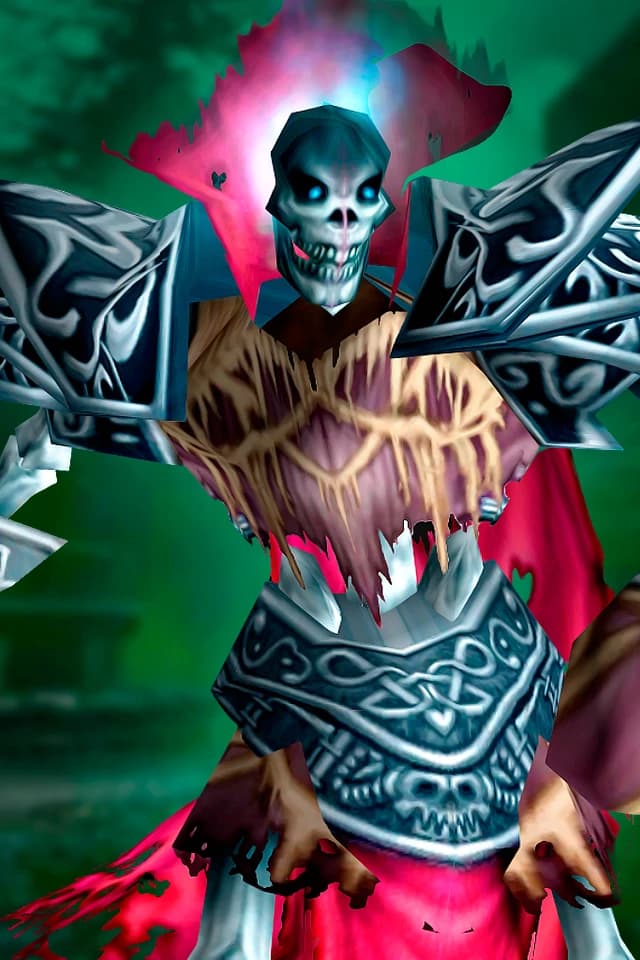
Located in the central graveyard. Clear the graveyard before you engage — there is a lot of it and none of it is friendly.
Abilities: Flamestrike, and he's stunnable.
Strategy: The one thing that matters: Flamestrike lands where the tank was standing when the cast began, not where the tank is when it resolves. So the tank steps out of position the moment the cast starts and the boss follows, leaving the fire behind on empty ground. Melee players need to move with the tank rather than standing in the spot the boss just left.
Everything else about this fight is straightforward. Stuns work on him — use them on Flamestrike if you have them spare.
Lordaeron Captain — Horde Only
A rare that appears in the west after all six bosses are down. He is friendly to Alliance, which means Alliance groups can see him and cannot kill him.
Drops: Phantom Armor (mail) and Haunting Blade (a healing-oriented two-handed sword).
He doesn't always appear. If he's there, he's free loot for a Horde group that already did the work.
Trash — This Is What Actually Wipes Groups
More groups die to trash in Ruins of Lordaeron than to bosses, and the reason is consistent: double pulls from patrols. The zone is open, the patrol routes are long, and there's no instance geometry funnelling things into neat packs.
Trash | The Problem | What to Do |
|---|
Kings Alley spiders and tarantulas | Fast-moving patrol packs that join each other | Pull backward, away from the direction of travel, so the second patrol doesn't walk into you |
Skeletal soldiers and mages | Packs of three guarding The Baron; they hit hard together | Stuns and focus fire. Kill the mages first |
Shrieking Banshees | Silence — and they patrol Kings Alley, so they arrive uninvited | Keep casters and your healer at max range. A silenced healer at level 17 is a wipe |
Flesh Golem and Living Monstrosity | Knock Away can throw your tank into another pack | Position the tank with their back to open ground, never to another group |
Ghouls and Ragged Ghouls | Packs of 3–4 sitting close together, heavy melee | Kill Ragged Ghouls first. Use cooldowns if you've accidentally got two packs |
The one rule: pull conservatively in Kings Alley. Almost every disaster in this dungeon starts there, with a spider patrol and a banshee arriving at the same time.
Loot Table
The pieces worth making a trip for:
Vileblood Scimitar — the best physical DPS weapon in the dungeon, and it's on an optional boss. If you want it, you're doing the Viktor wave event.
Meathook Slicer — strong dagger for Rogues and anyone levelling a dagger spec
Corpse Chopper — two-handed axe from the easiest boss in the dungeon, which makes it the best effort-to-reward item here
Coldspire Staff — the caster pick, off the final boss
Mirror of Rath'mael — a shield at level 20 is worth real money to a tank
Note the armour-type spread: every boss drops one cloth or leather piece and one mail piece. There is no plate in this dungeon. If you're levelling a Warrior or Paladin, you're here for the weapons and the quest rewards.
Should Alliance Bother?
Straight answer: it's a worse dungeon for you, and you should know that before you commit an evening.
4 quests instead of 6, so less XP from the same clear
All four of your quests are inside the dungeon, so nothing can be pre-collected
You cannot kill the Lordaeron Captain — he's friendly to your faction
The travel time is several times longer, through contested territory at level 17
What you still get: the full six-boss loot table, a shield, three decent weapons, and the first-time dungeon quest XP, which remains the most lucrative levelling option in the game.
Our recommendation for Alliance: go once, go with a full group that travels together, pick up all four quests on arrival, and do all six bosses in a single trip. The round trip is too expensive to do twice, so don't half-clear it and plan to come back. If you have a Skyborne, use the Dalaran portal to get a scout in early and check whether the Market Square statue and Viktor's chimney are free.
FAQ
Is Ruins of Lordaeron an instance? No. It's open-world content in the ruined city above the Undercity. Other groups are in the same space, bosses and quest objects are contested, there's no reset, and on a PvP ruleset you can be attacked at any point during the run.
What level should I be? The range is 15–22. Walking in at 15 or 16 is rough — aim for 17 minimum, and 18–19 if your group isn't well geared. The trash is the limiting factor, not the bosses.
Which bosses can I skip? Viktor the Vile and The Abandoned. Both require you to deliberately trigger a wave event — Viktor from the chimney southwest of Lordamere Overlook, The Abandoned from the statue in Market Square. Neither will happen by accident, and both are harder than the four core bosses. Skip them if your group lacks crowd control or a confident healer.
Is this dungeon good XP for levelling? The quest turn-ins are, especially the first time. Mob kill XP in dungeons was reduced in the beta with a 20% buff planned, and dungeon quest bonus XP was cut by 50% on October 1 — so the dungeon is no longer dramatically ahead of efficient questing. Run it for the quests, the gear, and because it's good content, not because it's a shortcut to 22.
Should I bring a higher-level friend to carry me? Not if you're here for XP. Kill XP is currently calculated from the group's highest-level member, so one high-level player reduces the XP for everyone else in the party. A fix is planned. Until then, a carry gets you the gear and the quest turn-ins at the cost of the kill XP.
Where does the Crest of Lordaeron spawn? Three possible locations: behind a door near The Baron's area, in a room along Bjork's patrol path, or at the ends of the rooftop paths where the gargoyles are. Since the zone is shared, another group may have taken one — check all three.
Can Alliance kill the Lordaeron Captain? No. He's friendly to Alliance. He's a Horde-only rare that appears in the west after all six bosses are dead, and he doesn't appear every time.
What's the hardest fight? The Abandoned. Three waves of adds, then a boss who heals himself with Life Drain, roots your group with Frost Nova, and slows your physical damage with Frost Armor. Assign the Life Drain interrupt to a named person before you pull.


 WoW Forever