 WoW Retail: Midnight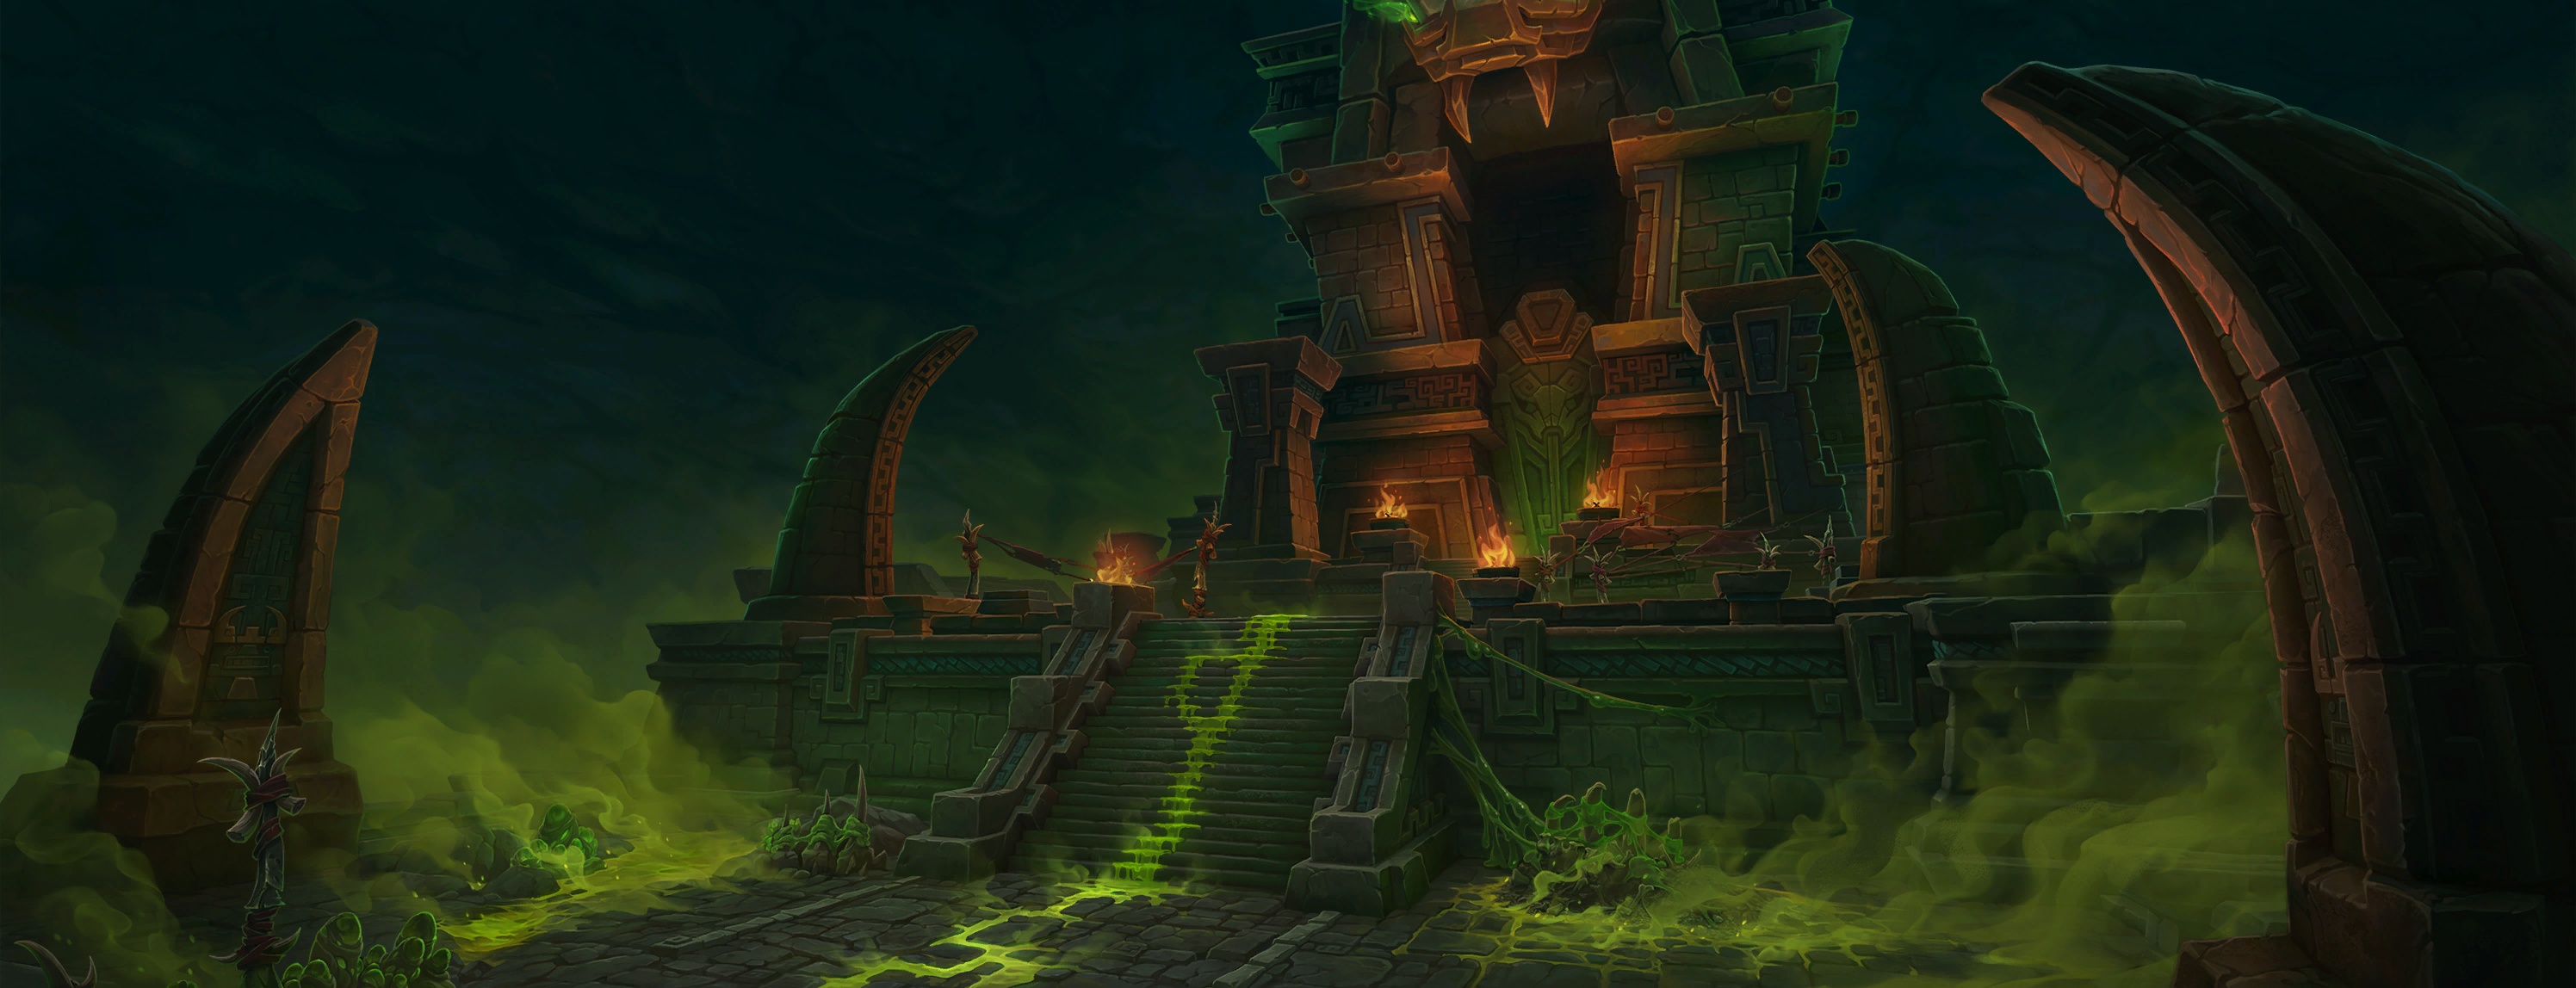
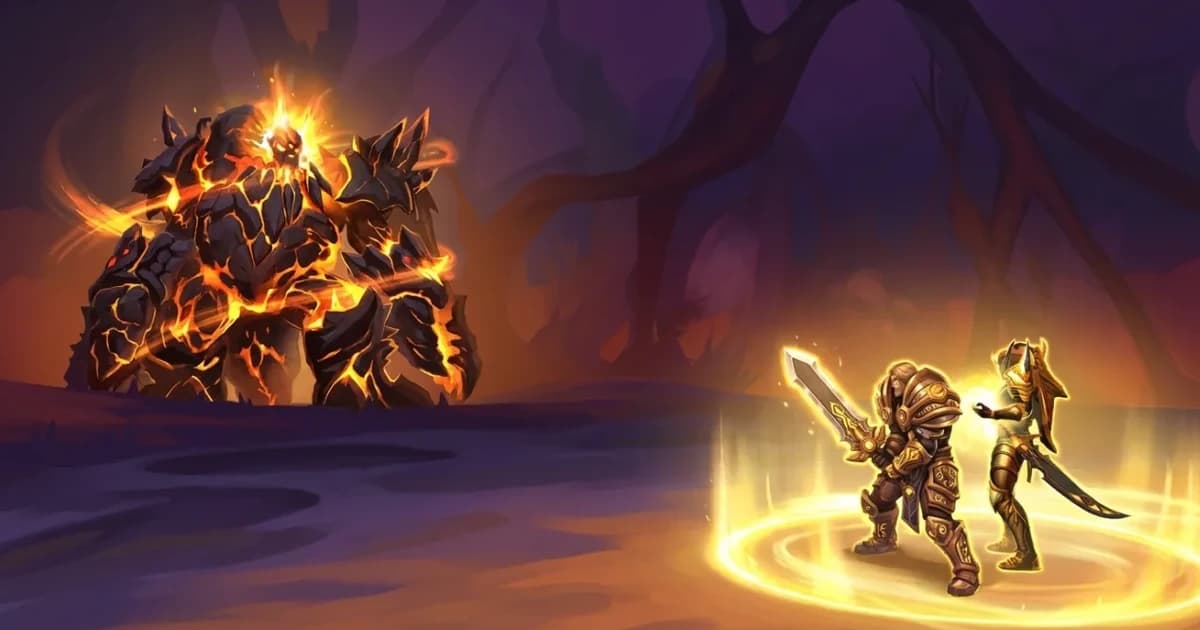
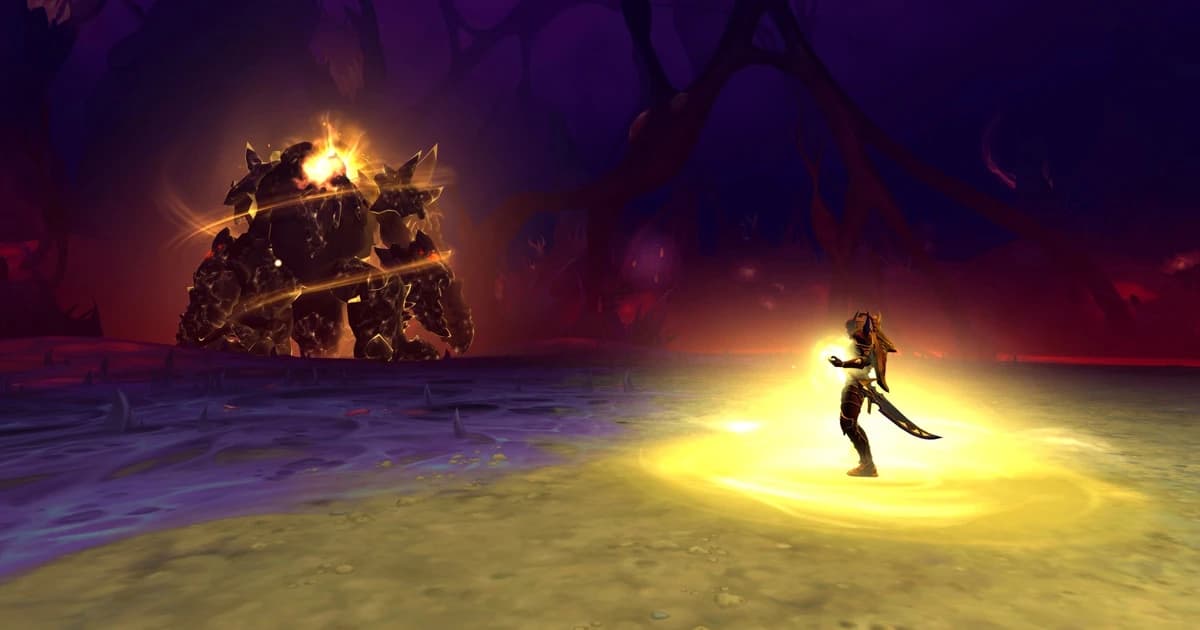
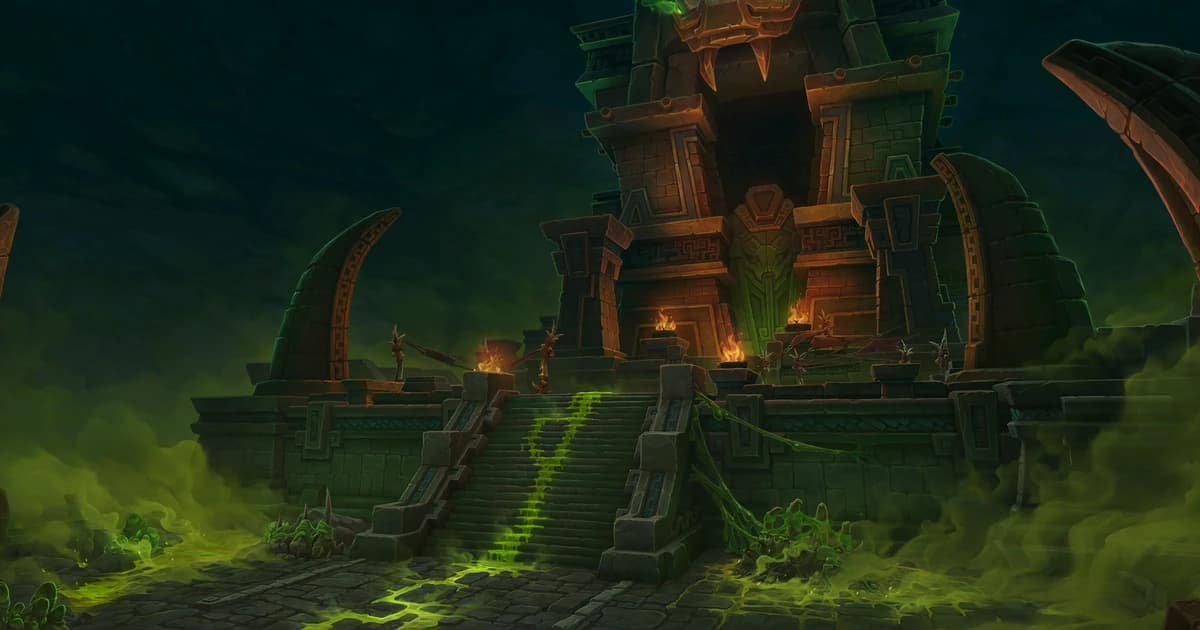
Altar of Fangs is the only brand-new dungeon in the Season 2 Mythic+ pool. Three bosses, a 29-minute timer, and a first boss whose entire difficulty is decided by where your tank stands.
This guide covers the full route strategy, the mechanics that actually cause wipes, the loot table with key level breakpoints, and the hidden trash buff most groups walk past.
Quick Facts
Location | The Coiled Isle → Vaults of Atal'Utek |
Bosses | 3 — Rav'i, The Writhing Coil, Zul'jan |
Required level | 90 |
Difficulties | Heroic, Mythic, Mythic+ |
M+ Timer | 29 minutes |
Mount | The Writhing Brood (Zul'jan, Mythic/M+ only) |
Entrance coordinates:
/way #2509 47.2 67.6    Altar of Fangs Entrance
/way #2512 43.3 44.2    Gate of the Serpent Eye
/way #2512 45.4 65.9    Gate of the Eastern Fang
/way #2512 31.8 64.9    Gate of the Western Fang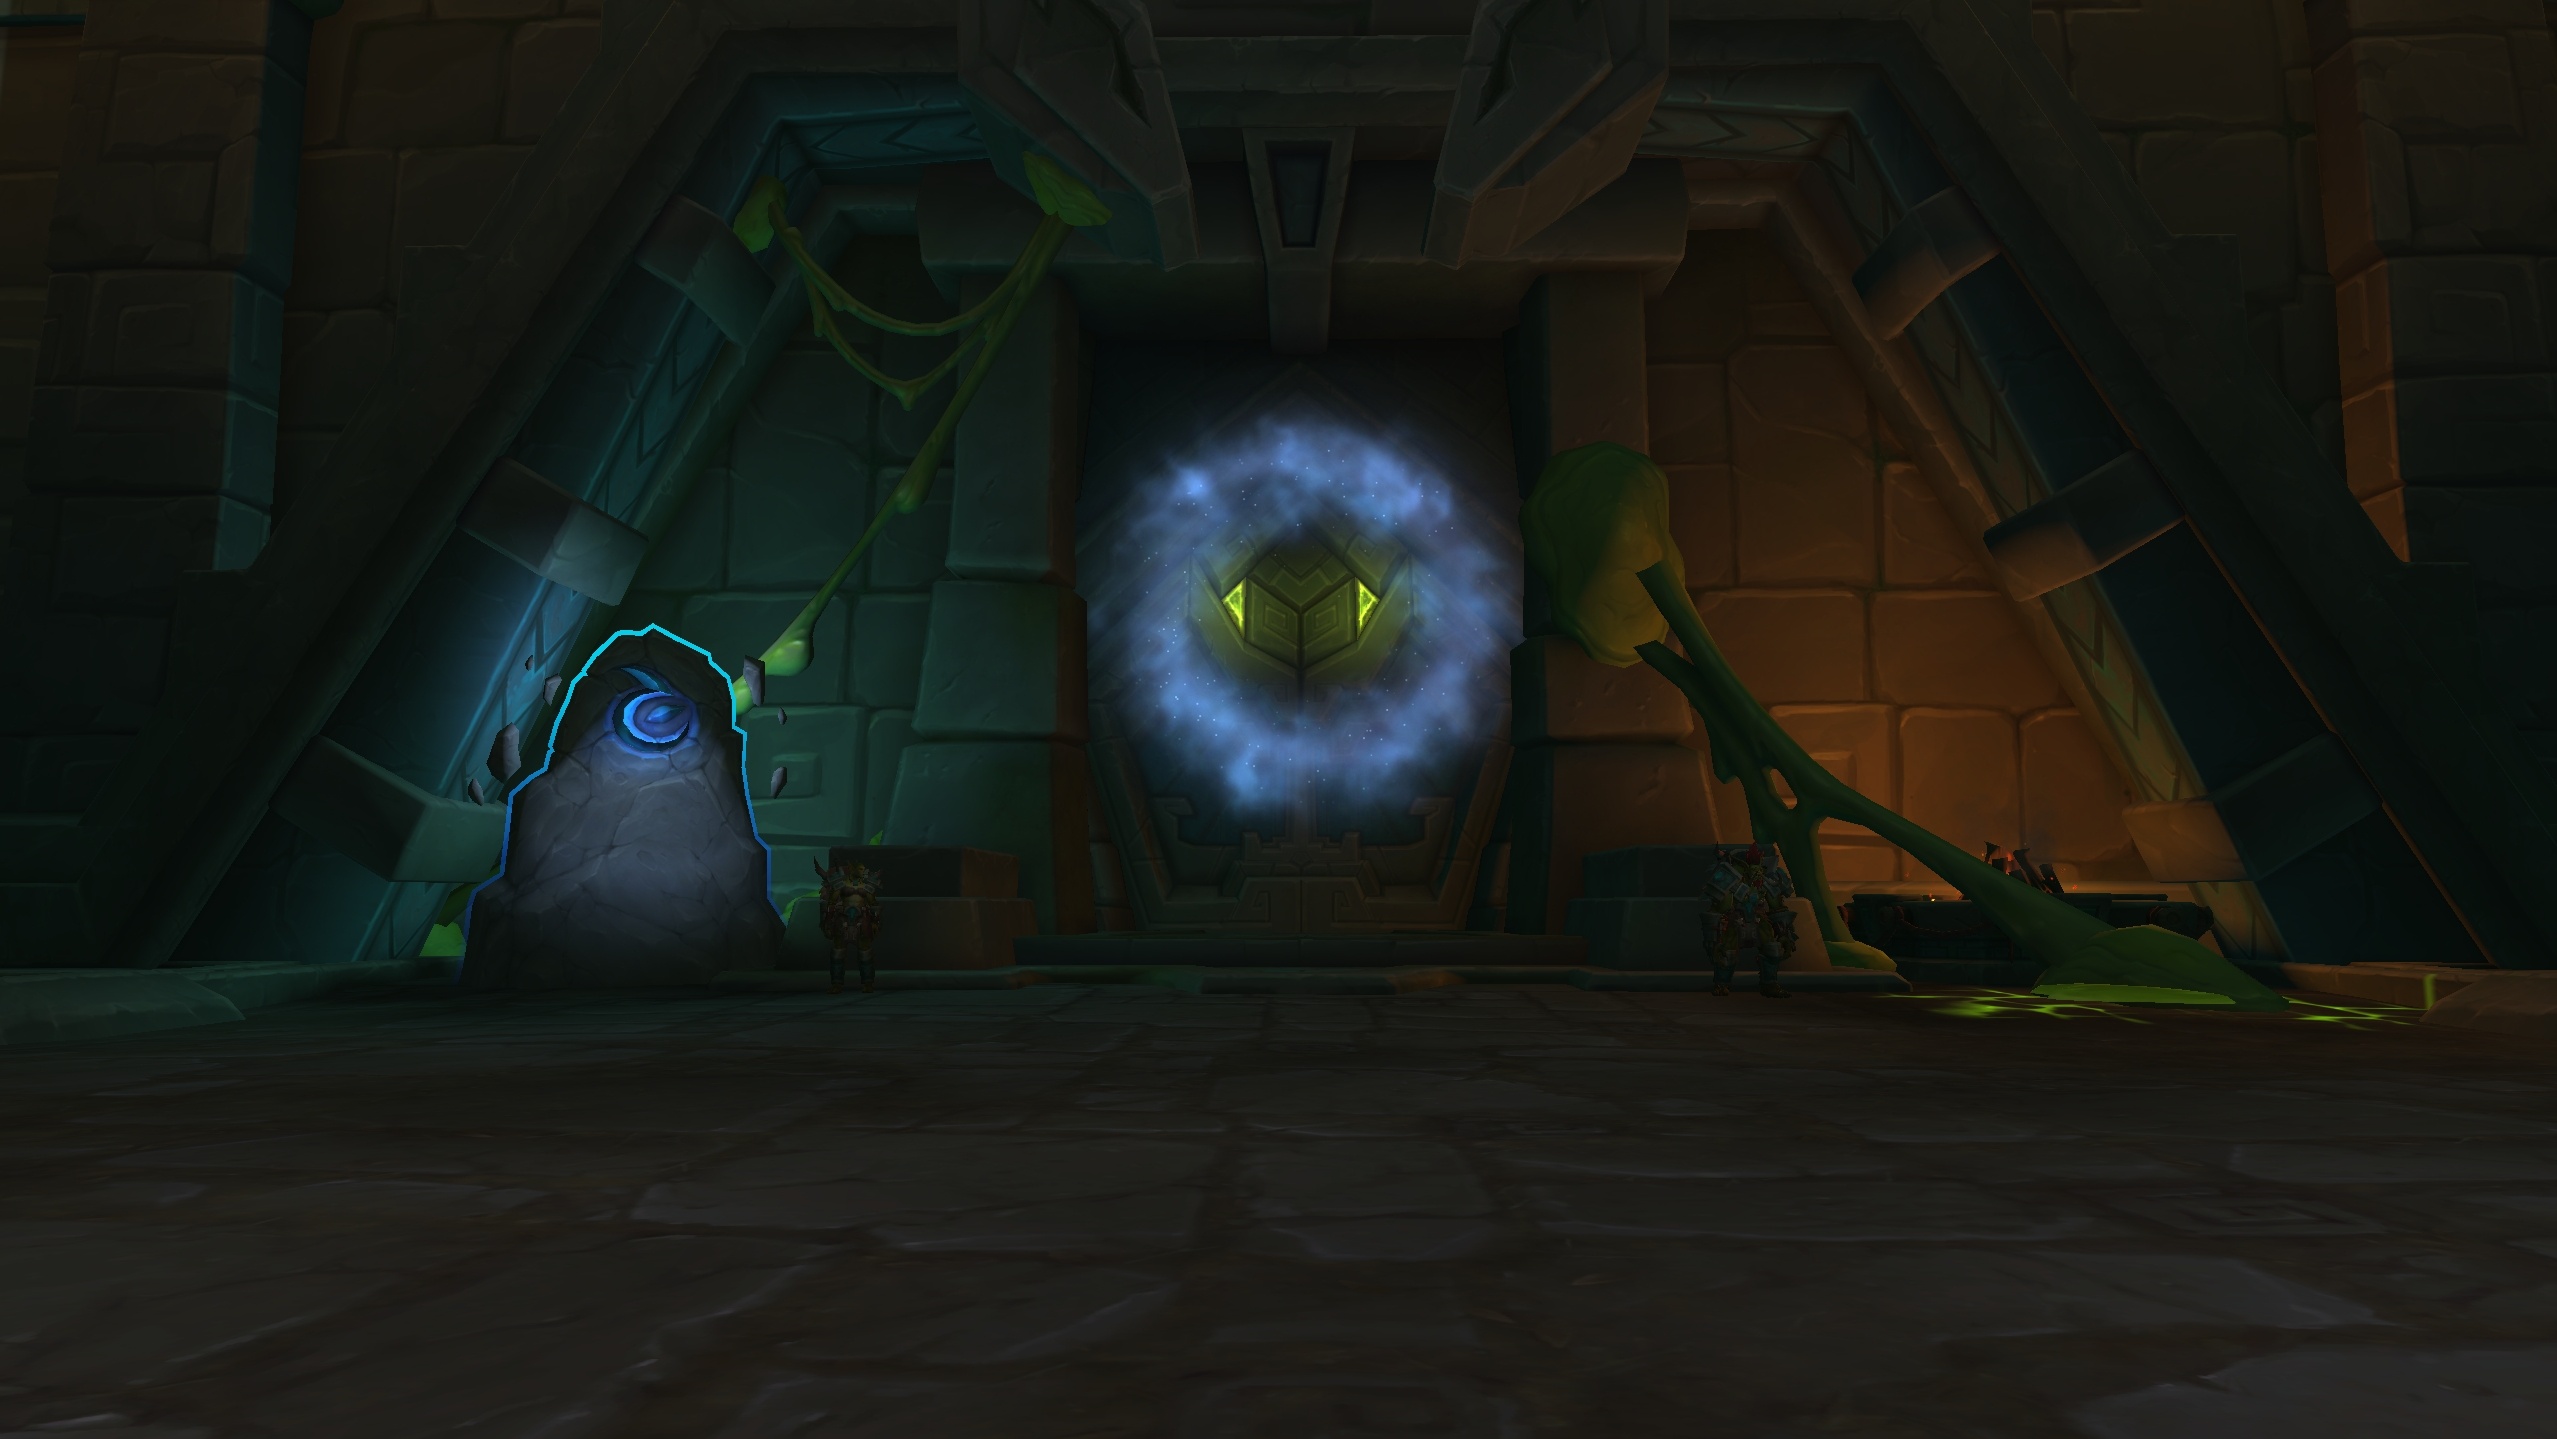
Three entry points lead into the Vaults of Atal'Utek; the dungeon entrance sits toward the north once inside.
Teleport unlock: time Altar of Fangs at +10 or higher to earn Path of Venomous Evolution in your general Spellbook — direct teleport to the entrance. Worth prioritising early since the swim-and-run approach costs real time on repeat runs.
The Hidden Trash Buff Most Groups Miss
Scattered through the dungeon are clickable Cursed Bones. Interacting with them starts a short Disturb Bones cast and spawns a Soothed Amani Spirit.
The spirit causes nearby enemies to take +1% increased damage for 30 seconds, and it appears to stack up to roughly 5 times.
That's a 5% damage amplifier on trash packs for the cost of a few seconds of channeling. On a tight 29-minute timer, stacking these before a heavy pull is free percentage. Assign someone with spare GCDs — a healer or a ranged DPS during downtime — to click them on the way in.
Interrupt and Dispel Priority
Getting these wrong is the most common cause of avoidable deaths on this route.
Must interrupt:
Spell | Source |
|---|---|
Primal Serpent (trash before boss 1) | |
Twinfang Harrower (trash before boss 1) | |
Ravenous Descendant (trash before boss 1) | |
The Writhing Coil (boss 2) | |
Rav'i (boss 1) | |
High Evolutionist (trash before boss 2) — use CC if interrupts are down |
Must dispel:
Spell | Source |
|---|---|
Ula'tek's Chosen (trash before boss 3) | |
High Evolutionist (trash before boss 2) |
Tank warning: Ravenous Descendant has an attack speed that will delete tanks if left unmanaged. It doesn't last long — a short stun or a quick kite resets the attack speed. Don't try to face-tank it through cooldowns.
Route Gates
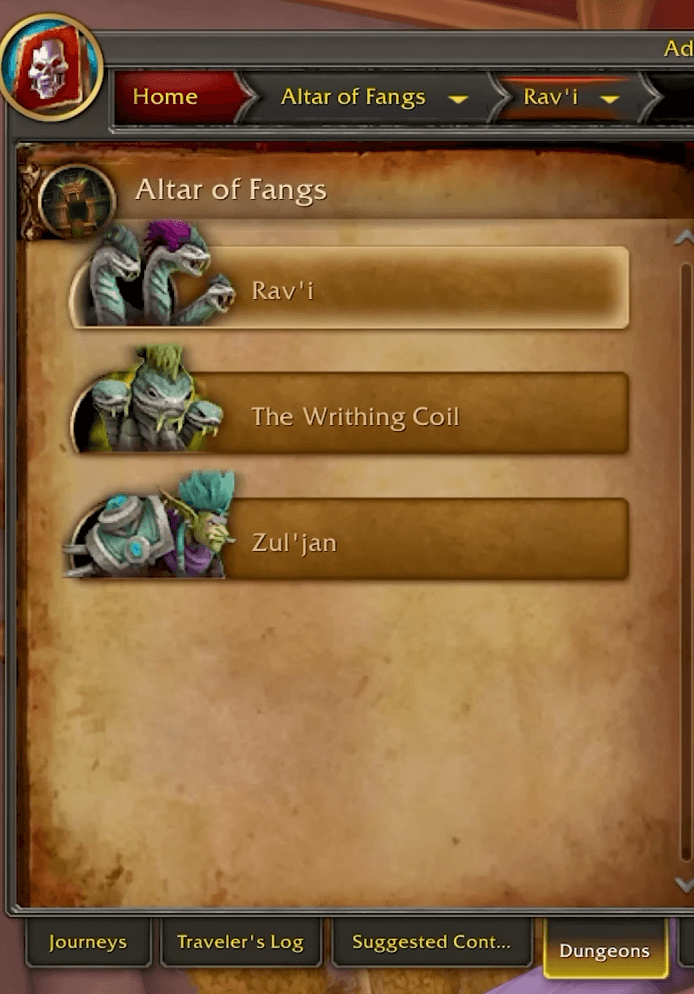
Two points where groups get stuck if they don't know:
All Totems in the first area must be clicked before you can proceed to Rav'i. Spread out and click them as you clear — don't discover this after the trash is dead.
The Ascendant Serpent elite after boss 2 must be killed to progress. It's not skippable.
Boss 1: Rav'i
A three-headed hydra that has survived the pit by scavenging corpses. The entire fight is a tank positioning puzzle disguised as a hydra.
The Fresh Meat Mechanic — This Decides the Fight
Rav'i's arena is covered in Carrion Piles. When she runs out of energy, she runs to the nearest Carrion Pile and starts Ssscavenging — gaining an absorb shield and applying stacking Carrion Burst to the entire group every 3 seconds until you break the shield.
That's the normal version. Here's what makes it worse:
Ravenous Stomp breaks stalactites from the ceiling. Flying Twinfangs get skewered and drop Fresh Meat onto Carrion Piles.
If the nearest Carrion Pile contains Fresh Meat, Rav'i goes into Feeding Frenzy instead of normal Ssscavenging:
Carrion Burst applies every 1.5 seconds instead of 3 — double the raid damage
She gains Scent of Blood — +30% attack speed on your tank
The strategy is one sentence: tank Rav'i away from Carrion Piles that have Fresh Meat on them.
Your tank needs to track which piles received Fresh Meat after each Ravenous Stomp and reposition so the nearest pile when she runs out of energy is a clean one. Get this right and the fight is comfortable. Get it wrong repeatedly and your healer runs out of mana at +12.
Other Mechanics
Ssscavenging / Feeding Frenzy — she gains a full absorb shield. Break the shield to stop the Carrion Burst stacking. This is your burst window; treat the shield as a DPS check.
Messy Eater (Mythic and M+) — while eating, she throws chunks of rotting meat across the pit. Each chunk hits for heavy Nature damage in a small radius. Chunks that aren't caught by a player explode into an additional Carrion Burst. On Mythic+ these need to be intercepted, not dodged — the opposite of what instinct tells you.
Triple Shot— venom globs at 3 players with a lingering ground effect. Spread out.
Regurgitate — three waves of acid in lines toward a player. Heavy damage, 50% slow, and 50% reduced damage done. Dodge these, and interrupt the cast when you can.
Ravenous Stomp — raid-wide damage plus falling stalactites that stun on impact. Move out of the impact markers.
Rav'i Role Summary
Tank: manage boss position relative to Fresh Meat piles. This is your whole job.
DPS: break the absorb shield fast, catch meat chunks on Mythic+, dodge Regurgitate
Healer: Carrion Burst stacks are your pressure point — the faster the shield breaks, the less you heal
Boss 2: The Writhing Coil
A mass of serpents fused into one creature. The gimmick fight of the dungeon.
Death Rattle — The Wipe Mechanic
Death Rattle inflicts stacking damage to everyone, and the stack count increases every second. Left unchecked, it kills the group.
Orweyna attaches players to the Coil with Vine Grip. To break Death Rattle, attached players must run 10 yards away from the boss, which causes it to Uncoil.
Every player needs to run. If not everyone breaks their vine, the cast continues and you wipe. This is the single most common wipe on this boss and it's entirely a communication problem — call it out loud in voice before the first pull.
The Uncoil DPS Window
When the Coil uncoils, it splits into 5 separate snakes, all of which take damage.
The key detail: damage dealt while the Coil is Uncoiled persists after Assimilation — when the snakes converge back into the boss, that damage carries over.
This means Uncoil is your burst window. Line up cooldowns for it rather than spending them on the single-target phase. Groups that treat Uncoil as an add-management annoyance rather than a damage opportunity are leaving significant time on the table.
Spiteful Hunt (Mythic and M+): each Uncoiled Writhe fixates a player. Those that reach their target apply stacking Spiteful Venom — damage over time plus reduced damage done. Kite your fixate; don't tank it.
Other Mechanics
Toxic Atrophy — interrupt this. The boss casts Preparing Toxin to set up three Toxic Atrophy casts in a row. Each unstopped cast reduces your group's damage by 15% and speed by 10%, and it stacks. Three stacks means your DPS falls off a cliff. Assign an interrupt rotation for this specifically.
Burrowing Charge — the Coil burrows across the ground in a line. Dodge.
Venom Jet — cone of venom in front of the boss. Don't stand in front.
Tail Scythe — heavy physical tank damage. Standard cooldown usage.
Synchronized Venom — raid-wide damage plus a 35-second DoT. Healer cooldown window.
Writhing Coil Role Summary
Tank: Tail Scythe mitigation, position for Burrowing Charge
DPS: interrupt Toxic Atrophy religiously, save burst for Uncoil, kite your Spiteful Hunt fixate
Healer: Death Rattle ramps fast — the fix is everyone running, not more healing
Boss 3: Zul'jan
The final boss and the one that punishes poor pre-assignment. Zul'jan wields the Fang of Ula'tek and is still under Malacrass's influence.
Ritual of the Fang — Soak All Four Beams
Snake heads channel four ancient beams into Zul'jan for 8 seconds. If the beams connect, he gains Fang Empowered — stacking raid-wide damage that never goes away.
Players must intercept all four beams. Intercepted beams deal minor damage instead and apply Ritual Venom to the soaker.
Pre-assign your four soak positions before the pull. This is not something to figure out mid-fight — the beams spawn in fixed positions and improvising costs you a stack of Fang Empowered every time.
Ritual Venom — And the Two Ways to Clear It
Ritual Venom sits on you for 50 seconds and then bursts for heavy Nature damage on expiration. On Mythic and Mythic+, it stacks.
Two mechanics remove it:
Bloodletting — Zul'jan's physical abilities cause players to hemorrhage, removing Ritual Venom stacks but creating damaging blood pools on the ground.
Boneslicer— and this is the important one: soaking a single Boneslicer removes ALL stacks of Ritual Venom.
That turns Boneslicer from a mechanic you avoid into a mechanic you use. A player carrying multiple Ritual Venom stacks should deliberately step into a Boneslicer line to clear them all at once. On Mythic+ where the venom stacks, this is the primary stack management tool.
The counterintuitive rule: soak Boneslicer when you have Ritual Venom stacks. Avoid it when you don't.
Other Mechanics
Axegrinder— spinning axes ricochet around the arena, ignoring armor. They lose speed and damage as they bounce. Dodge — these are pure movement checks.
Chop Down — two heavy physical strikes on the tank. Cooldown or external.
Zul'jan Role Summary
Tank: Chop Down mitigation, stay clear of blood pools
DPS: hold your four assigned beam positions, use Boneslicer to clear Ritual Venom stacks, dodge Axegrinder
Healer: Fang Empowered stacks are permanent — every missed beam soak makes the rest of the fight harder
Mythic+ Loot Table and Key Level Breakpoints
This table matters more than most players realise, because the breakpoints are not where you'd expect.
Key Level | End of Dungeon | Crest Type | Great Vault / Bonus Roll |
|---|---|---|---|
+2 | 295 (Champion 2/6) | Champion Mistcrest | 305 (Hero 1/6) |
+3 | 295 (Champion 2/6) | Champion Mistcrest | 305 (Hero 1/6) |
+4 | 298 (Champion 3/6) | Hero Mistcrest | 308 (Hero 2/6) |
+5 | 302 (Champion 4/6) | Hero Mistcrest | 308 (Hero 2/6) |
+6 | 305 (Hero 1/6) | Hero Mistcrest | 311 (Hero 3/6) |
+7 | 305 (Hero 1/6) | Hero Mistcrest | 315 (Hero 4/6) |
+8 | 308 (Hero 2/6) | Hero Mistcrest | 315 (Hero 4/6) |
+9 | 308 (Hero 2/6) | Myth Mistcrest | 315 (Hero 4/6) |
+10 | 311 (Hero 3/6) | Myth Mistcrest | 318 (Myth 1/6) |
+11 | 311 (Hero 3/6) | Myth Mistcrest | 318 (Myth 1/6) |
+12+ | 311 (Hero 3/6) | Myth Mistcrest | 318 (Myth 1/6) |
The Three Breakpoints That Matter
+4 — Hero Mistcrests start dropping. If you're farming crests and not rating, there's no reason to run below +4.
+9 — Myth Mistcrests start here, not +10. This is the breakpoint most guides get wrong. If your goal is Myth crest income and you're struggling to time +10s consistently, +9 gives you the same crest type with a more forgiving timer.
+10 — Great Vault and bonus rolls jump to Myth 1/6 (318). This is the real target. It's also where the dungeon teleport unlocks.
The Ceiling Nobody Mentions
End-of-dungeon loot caps at 311 (Hero 3/6) from +10 onward. Running a +15 gives you the exact same direct drop as a +10.
What scales above +10 is your rating and nothing else. The Great Vault stays at 318 (Myth 1/6), the crests stay Myth, the drops stay 311.
Practical takeaway: if you're gearing rather than pushing rating, +10 is the efficiency sweet spot. Higher keys cost more time and carry more failure risk for zero additional loot. Push higher only if rating is the goal.
Full Loot Table by Boss
Item | Slot | Boss Drop |
Cloth Chest | Rav'i | |
Cloth Legs | The Writhing Coil | |
Cloth Hands | Zul'jan | |
Leather Shoulder | The Writhing Coil | |
Leather Helm | Zul'jan | |
Mail Wrist | Rav'i | |
Mail Chest | Zul'jan | |
Plate Feet | Rav'i | |
Plate Chest | The Writhing Coil | |
Plate Legs | Zul'jan | |
Neck | The Writhing Coil | |
Ring | Zul'jan | |
1H Axe | Rav'i | |
1H Warglaive | Rav'i | |
1H Dagger | Zul'jan | |
1H Dagger | Zul'jan | |
2H Staff | The Writhing Coil | |
2H Polearm | The Writhing Coil | |
Ranged Bow | Zul'jan | |
Off-Hand Weapon | The Writhing Coil | |
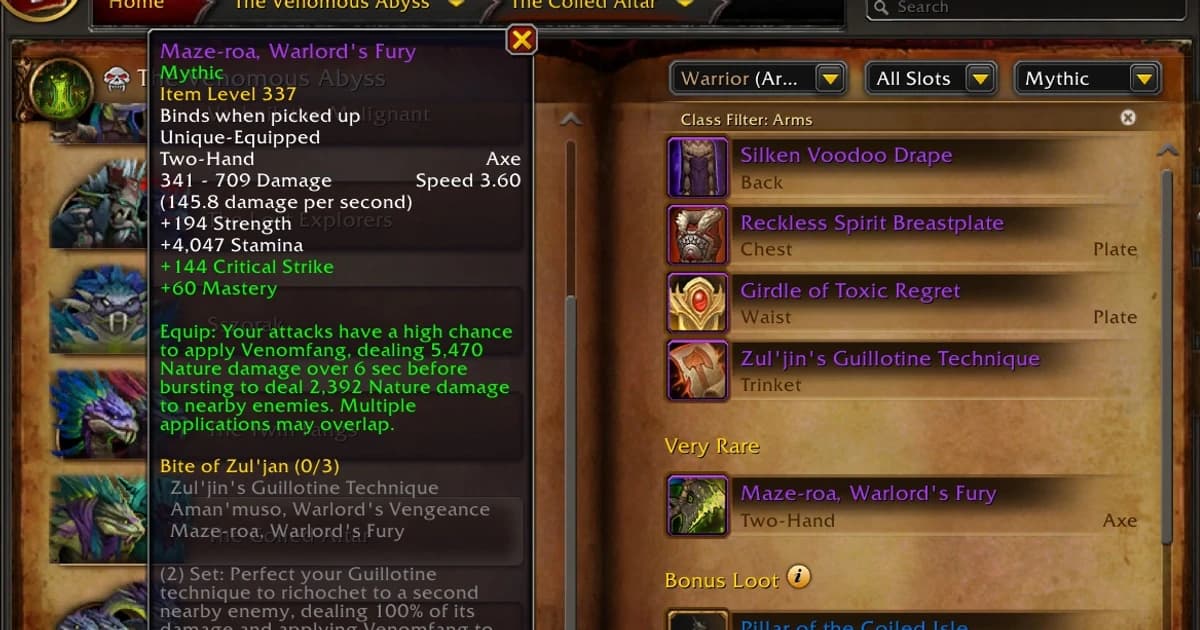
Trinket | Rav'i | |
Trinket | Rav'i | |
Trinket | The Writhing Coil | |
Trinket | Zul'jan |
Four trinkets total across the dungeon — Rav'i drops two, making her the highest-value trinket boss in the pool if your spec wants either.
Bonus Loot with Nebulous Voidcores
At the end of a Mythic+ run, you can spend a Nebulous Voidcore for an additional piece from a class-specific Bonus Loot table.
The critical rule: once you earn a specific piece from the Bonus Loot table, it is removed permanently and cannot be earned again.
That makes bonus roll targeting here fundamentally different from raid bonus rolls. Every roll shrinks your future pool. Spend them when the remaining table still contains pieces you want — once it's down to items you'd vendor, the rolls have no value.
Bonus roll gear drops at Great Vault item level, so a +10 bonus roll yields Myth 1/6 (318) — a full track above the 311 end-of-dungeon cap. That's the single best reason to run +10 specifically.
Other Rewards
The Writhing Brood mount — drops from Zul'jan on Mythic or Mythic+ difficulty only. Not available on Heroic.
Pattern: Snakeskin Lining — Tailoring recipe, available as Bonus Loot from Zul'jan.
Housing decor — drops on defeating Zul'jan.
Achievements: Altar of Fangs, Heroic, Mythic, and Keystone Hero: Altar of Fangs (time a +10 or higher — also unlocks the teleport).
Pre-Pull Checklist
Assign interrupt rotation for Toxic Atrophy (boss 2) — three casts in a row
Assign four beam soak positions for Ritual of the Fang (boss 3) before the pull
Brief the group: everyone runs on Death Rattle, or the group wipes
Tank: track Fresh Meat piles on Rav'i, position away from them
Click Cursed Bones for the stacking damage buff on approach
Click all Totems in the first area before Rav'i
Remind the group: soak Boneslicer with Ritual Venom stacks, avoid it without